Painting the backsplash in the galley and the aft head.
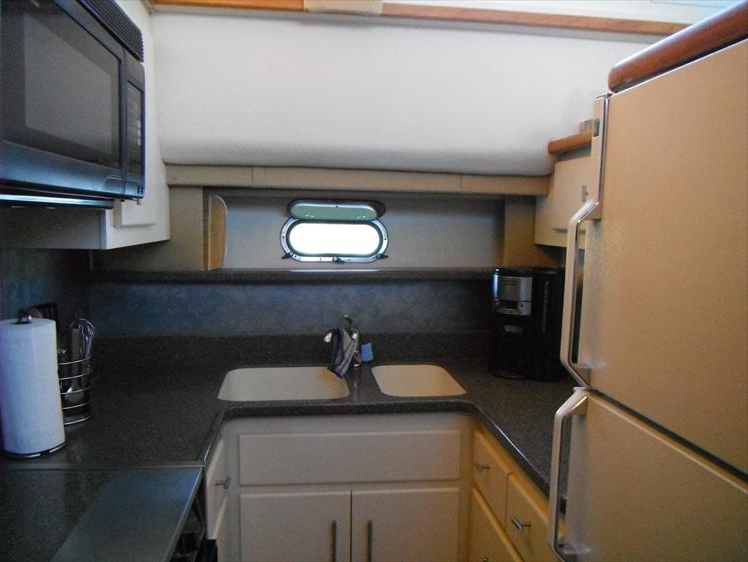
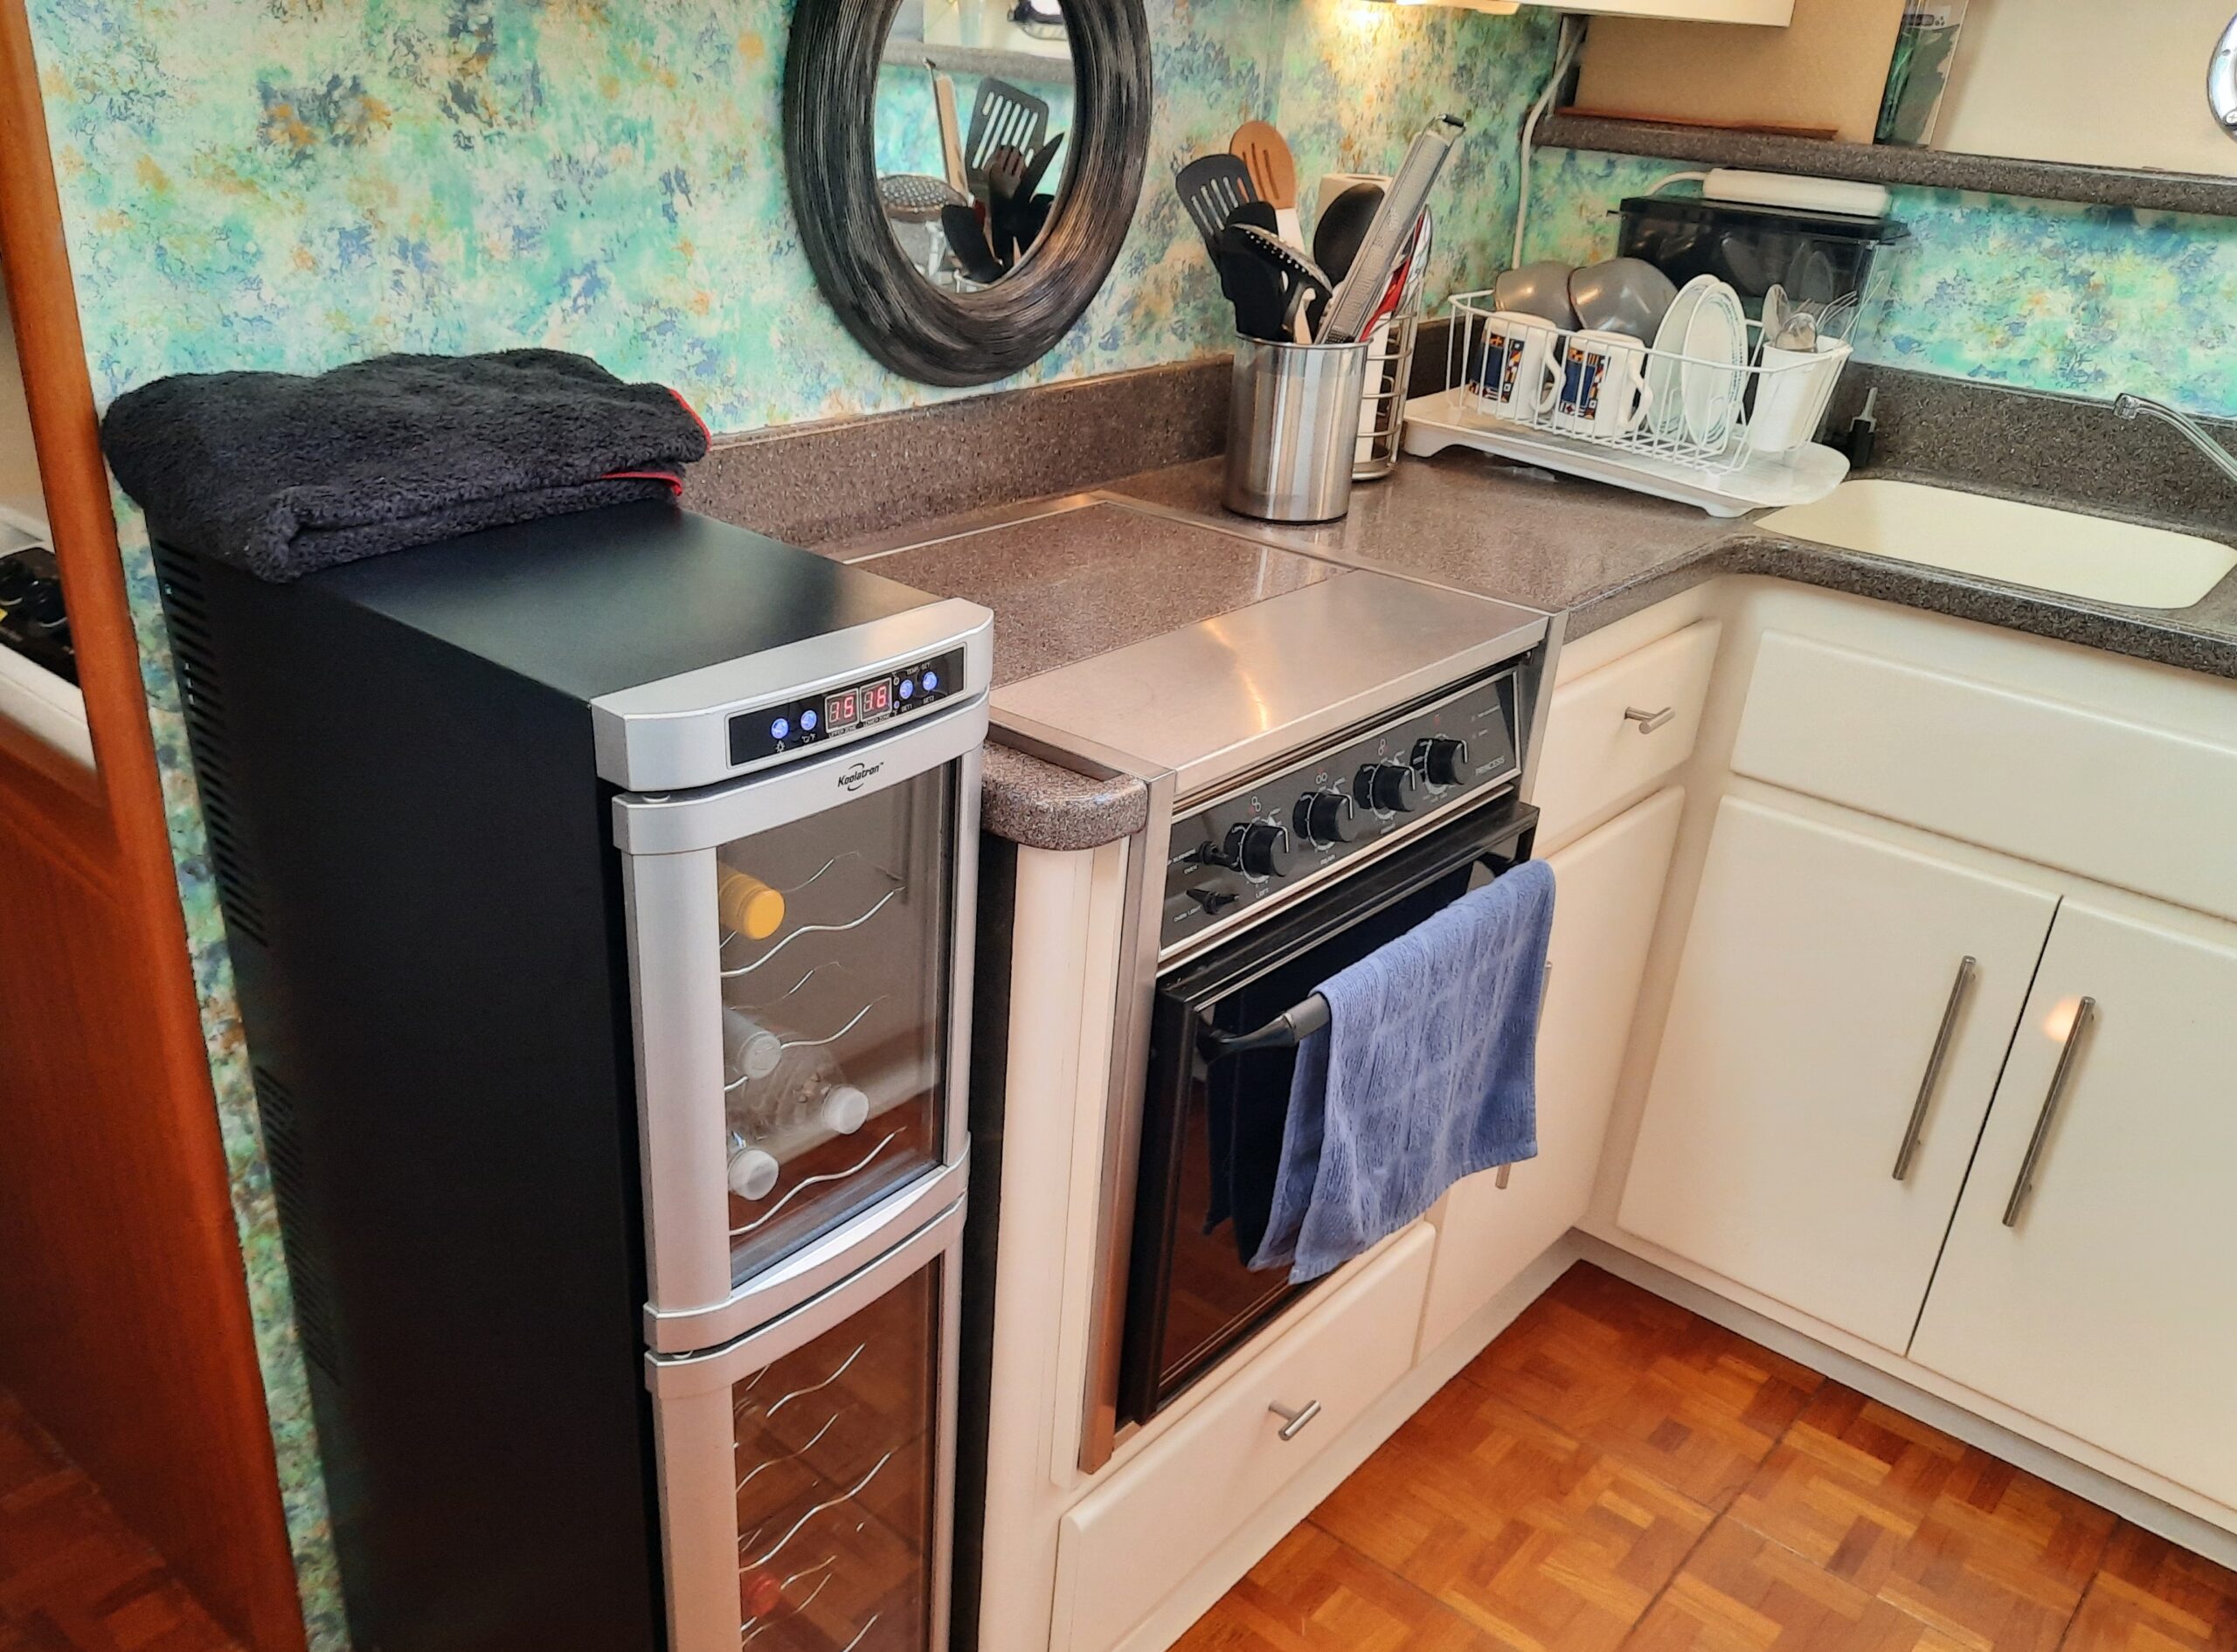
Before picture of galley showing the darkness of the backsplash.
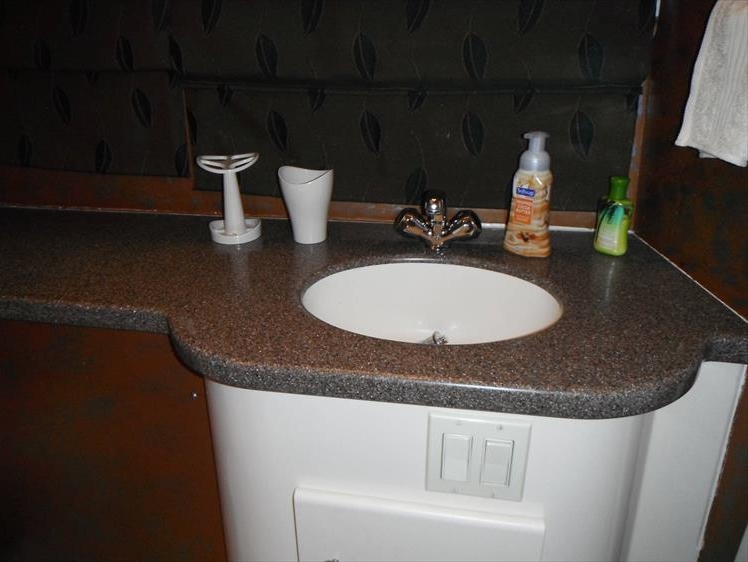
The aft head felt like a cave, it was that dark.
You know how it goes, you move into a new space and you think, OK, down the line, I will change this color but for now I can live with it. Well, the time came sooner than I thought for the colors of the galley (kitchen) and the head (bath) to be changed.
Galley before the painting of the backsplash.
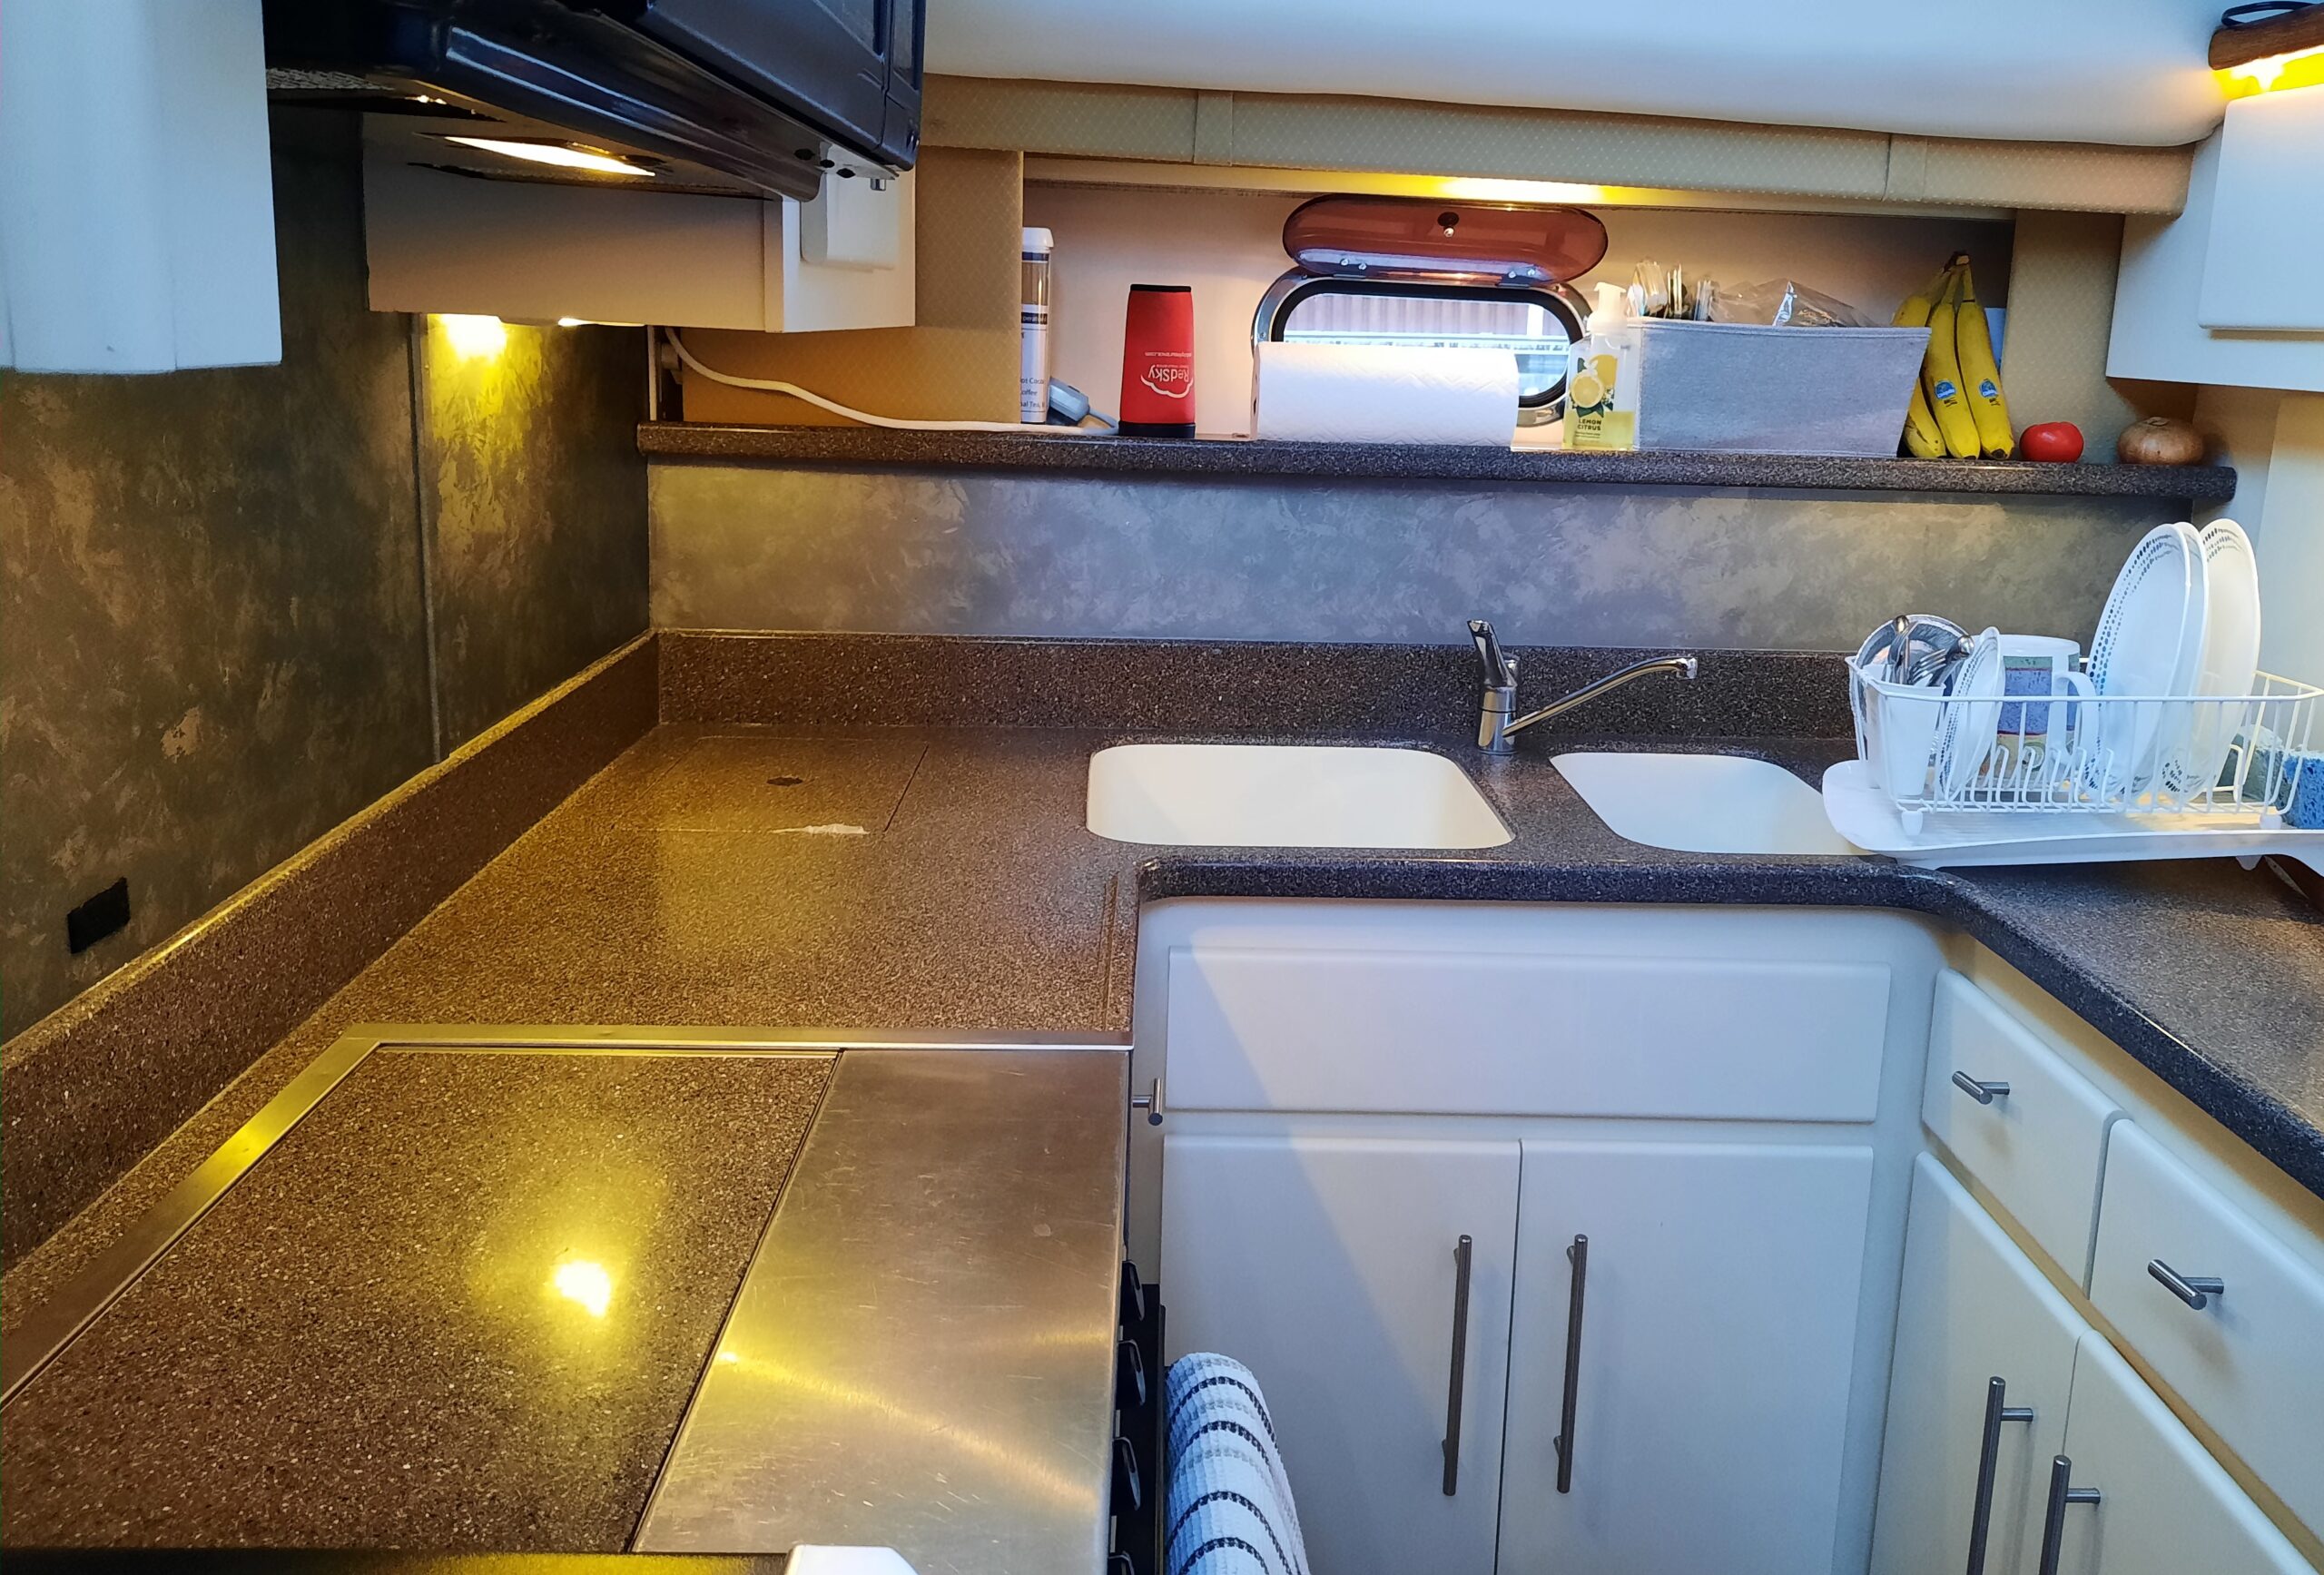
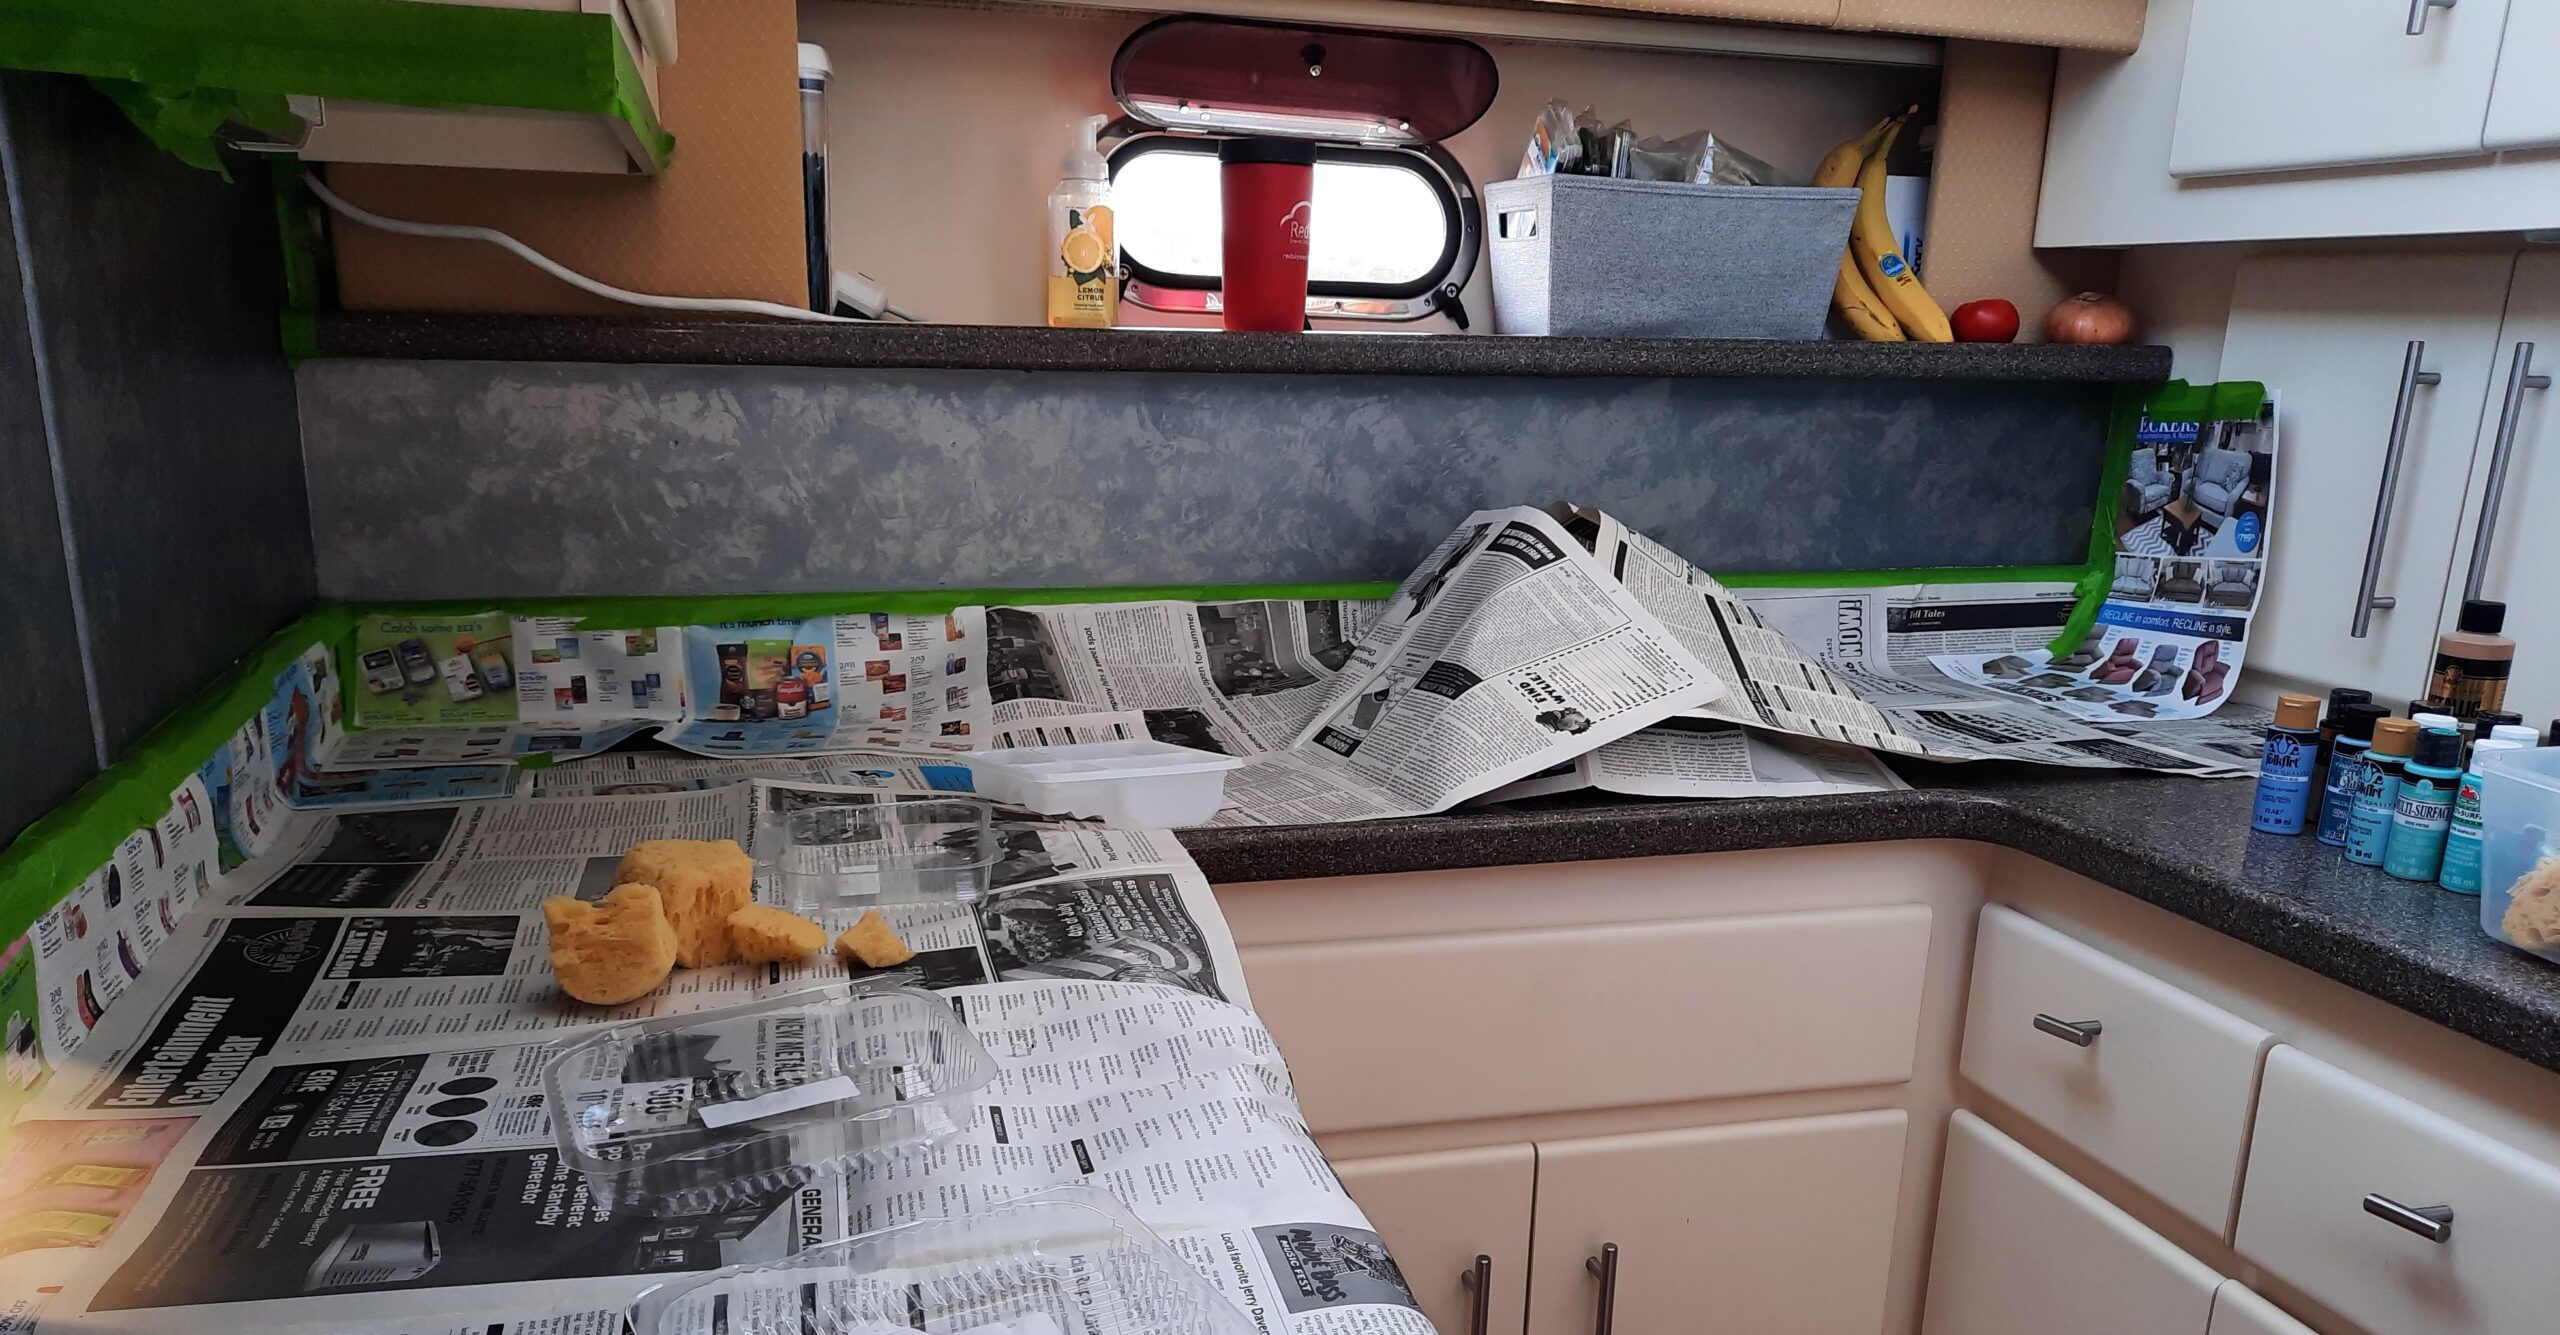
Closer look of the backsplash and counter below the microwave.
Boat galley before painting the backsplash a lighter color.
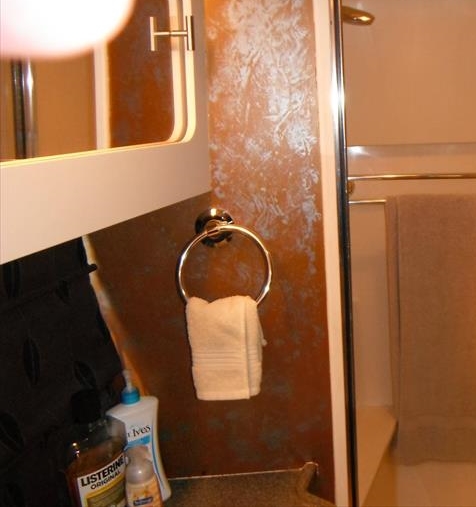
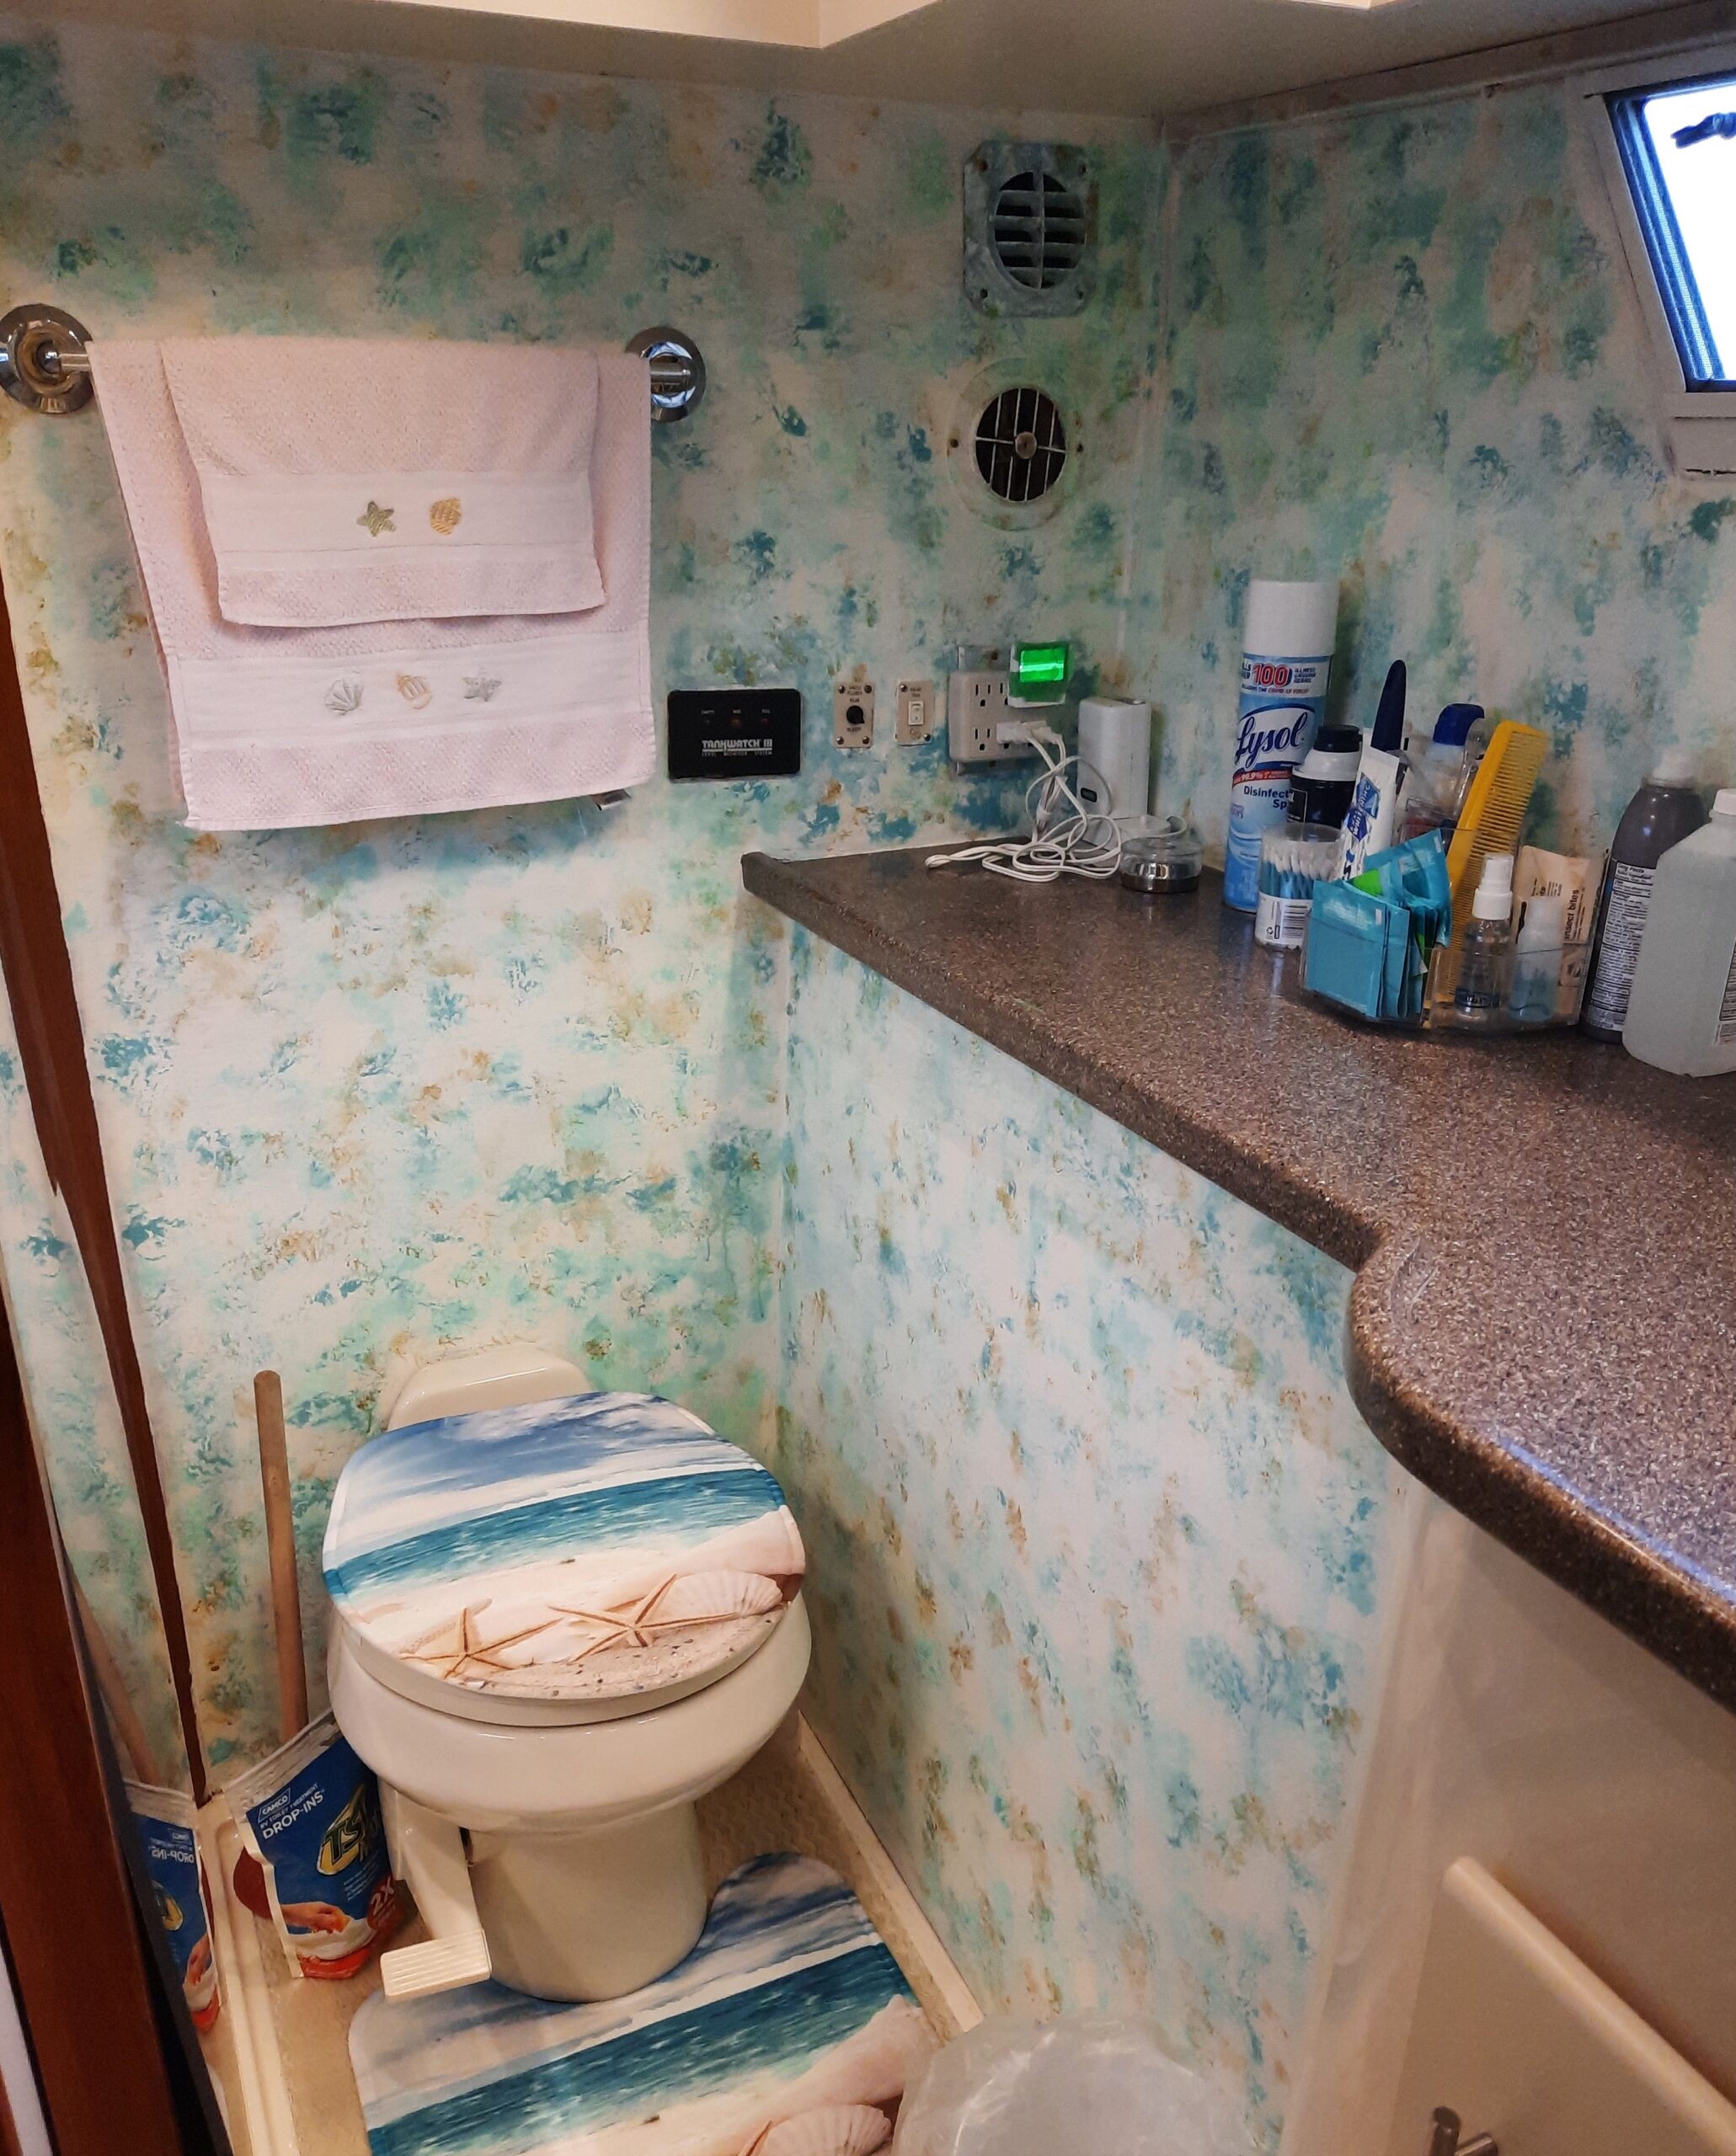
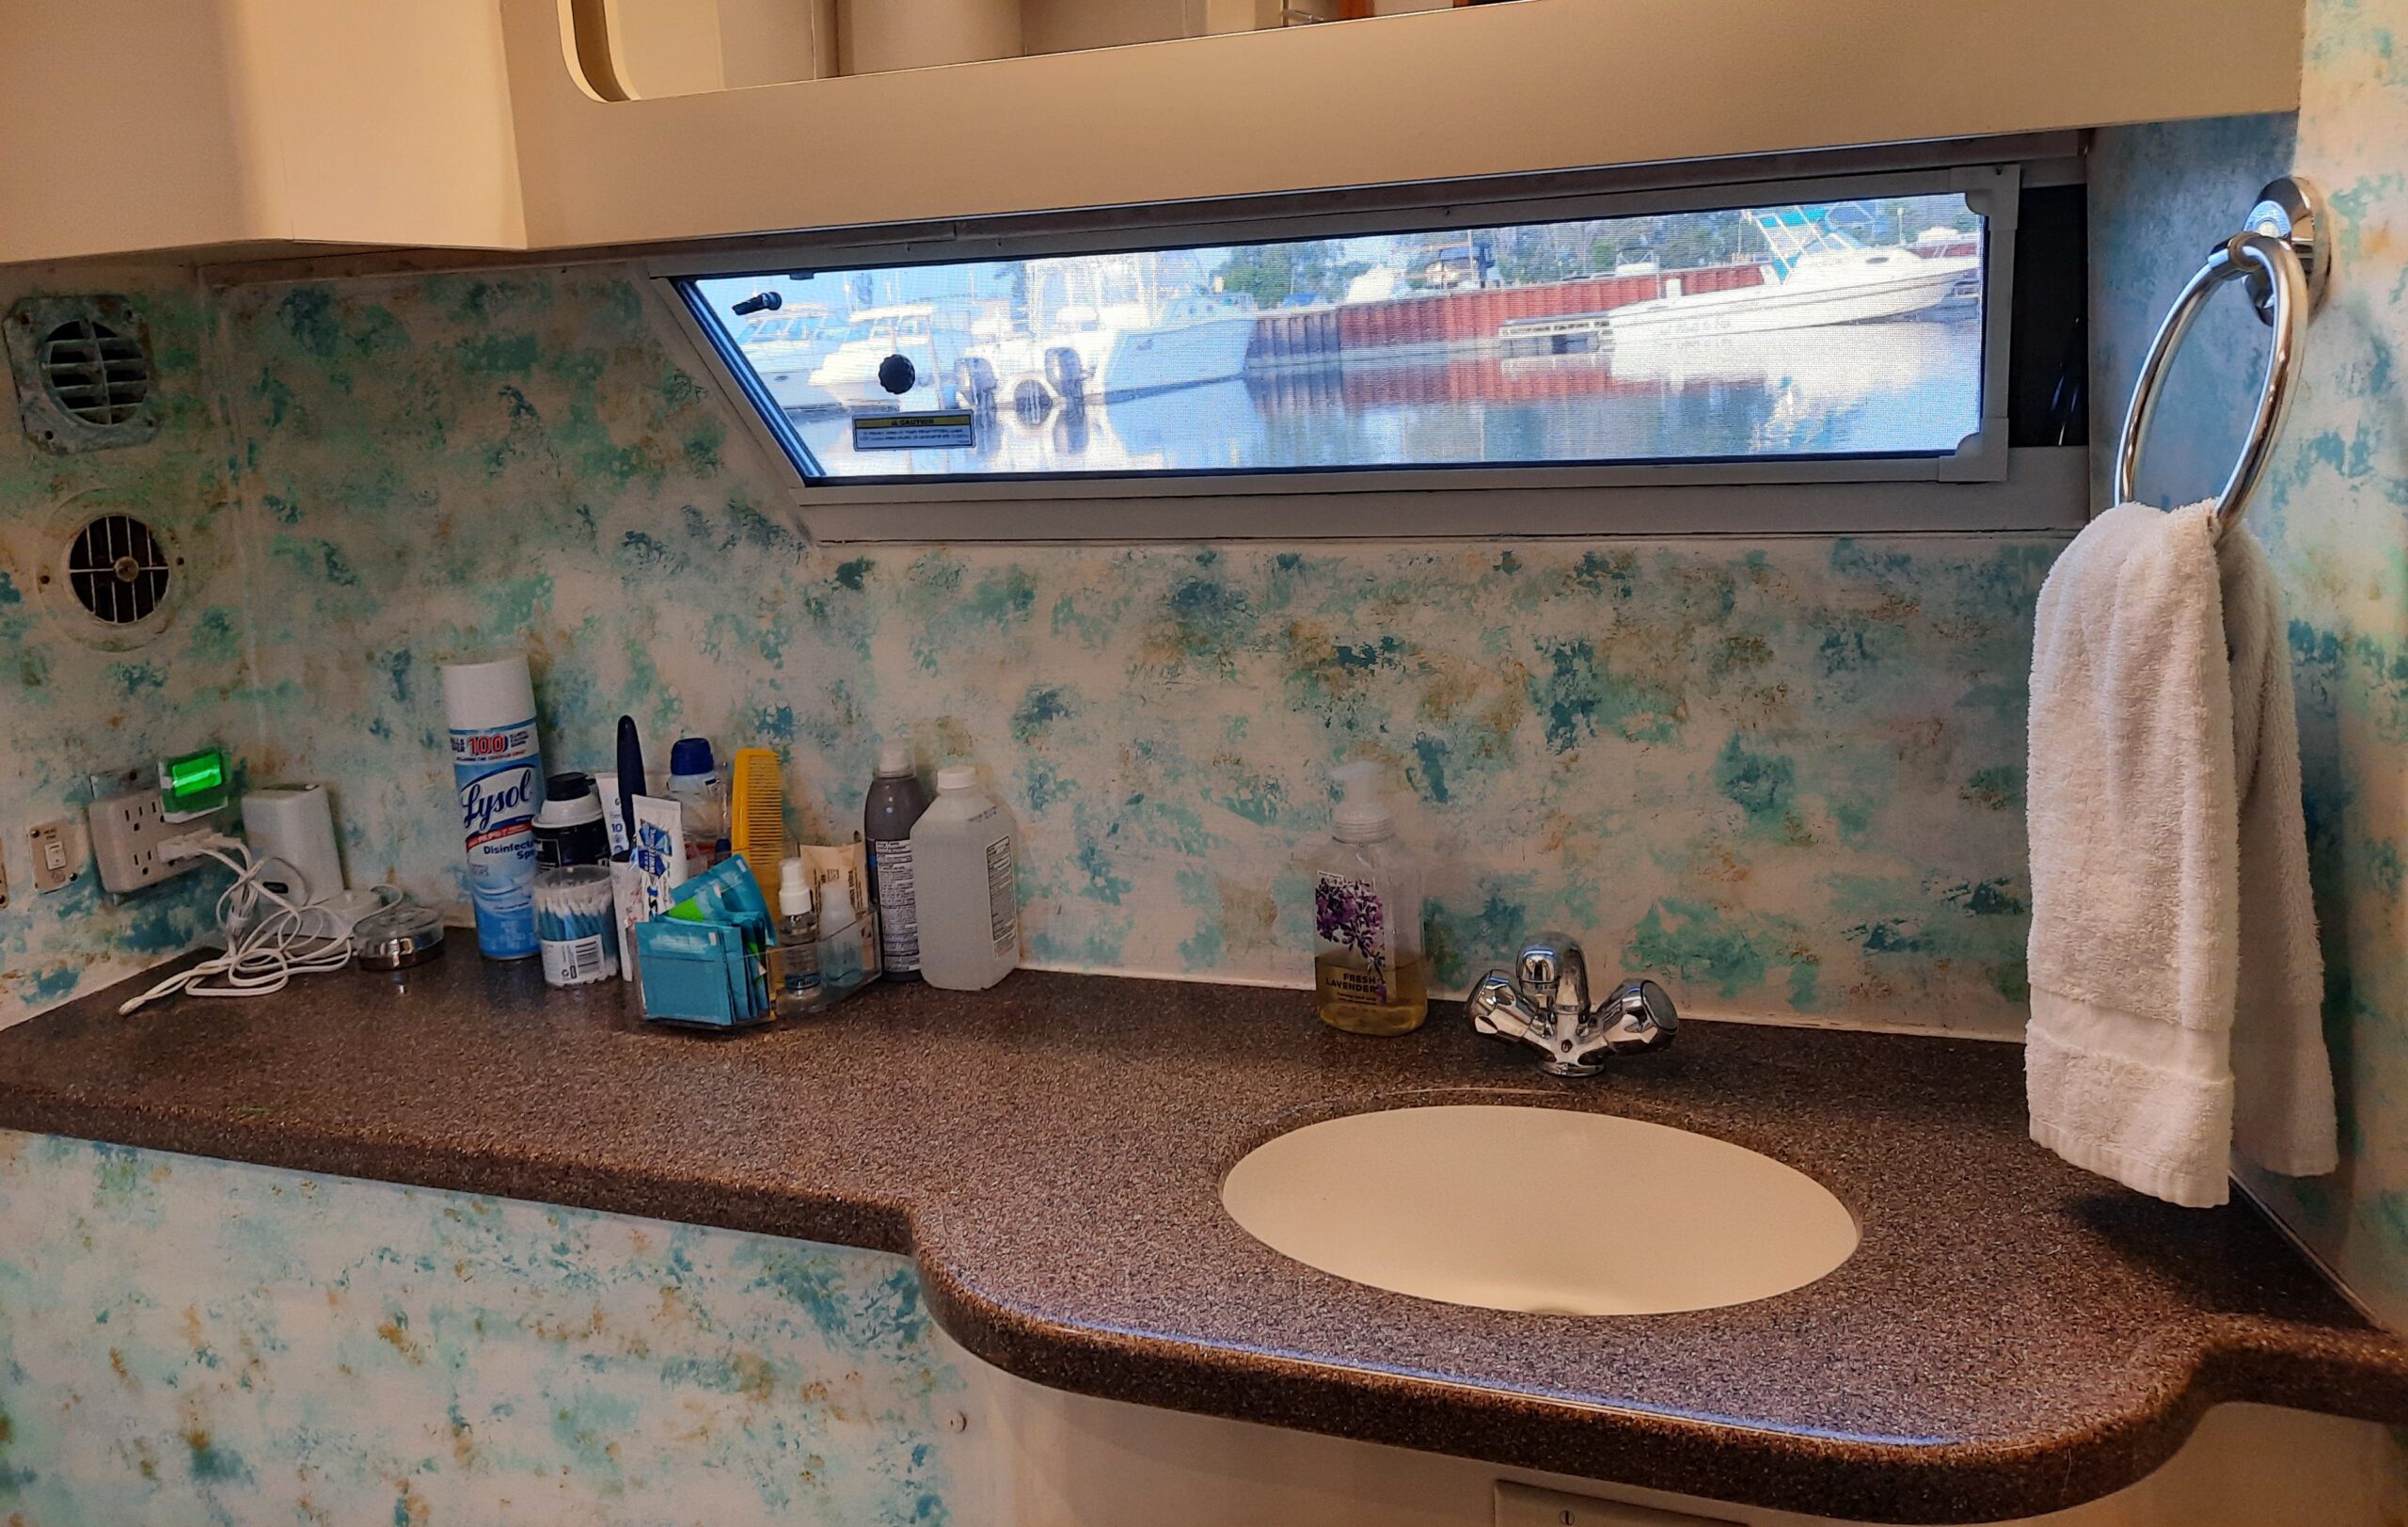
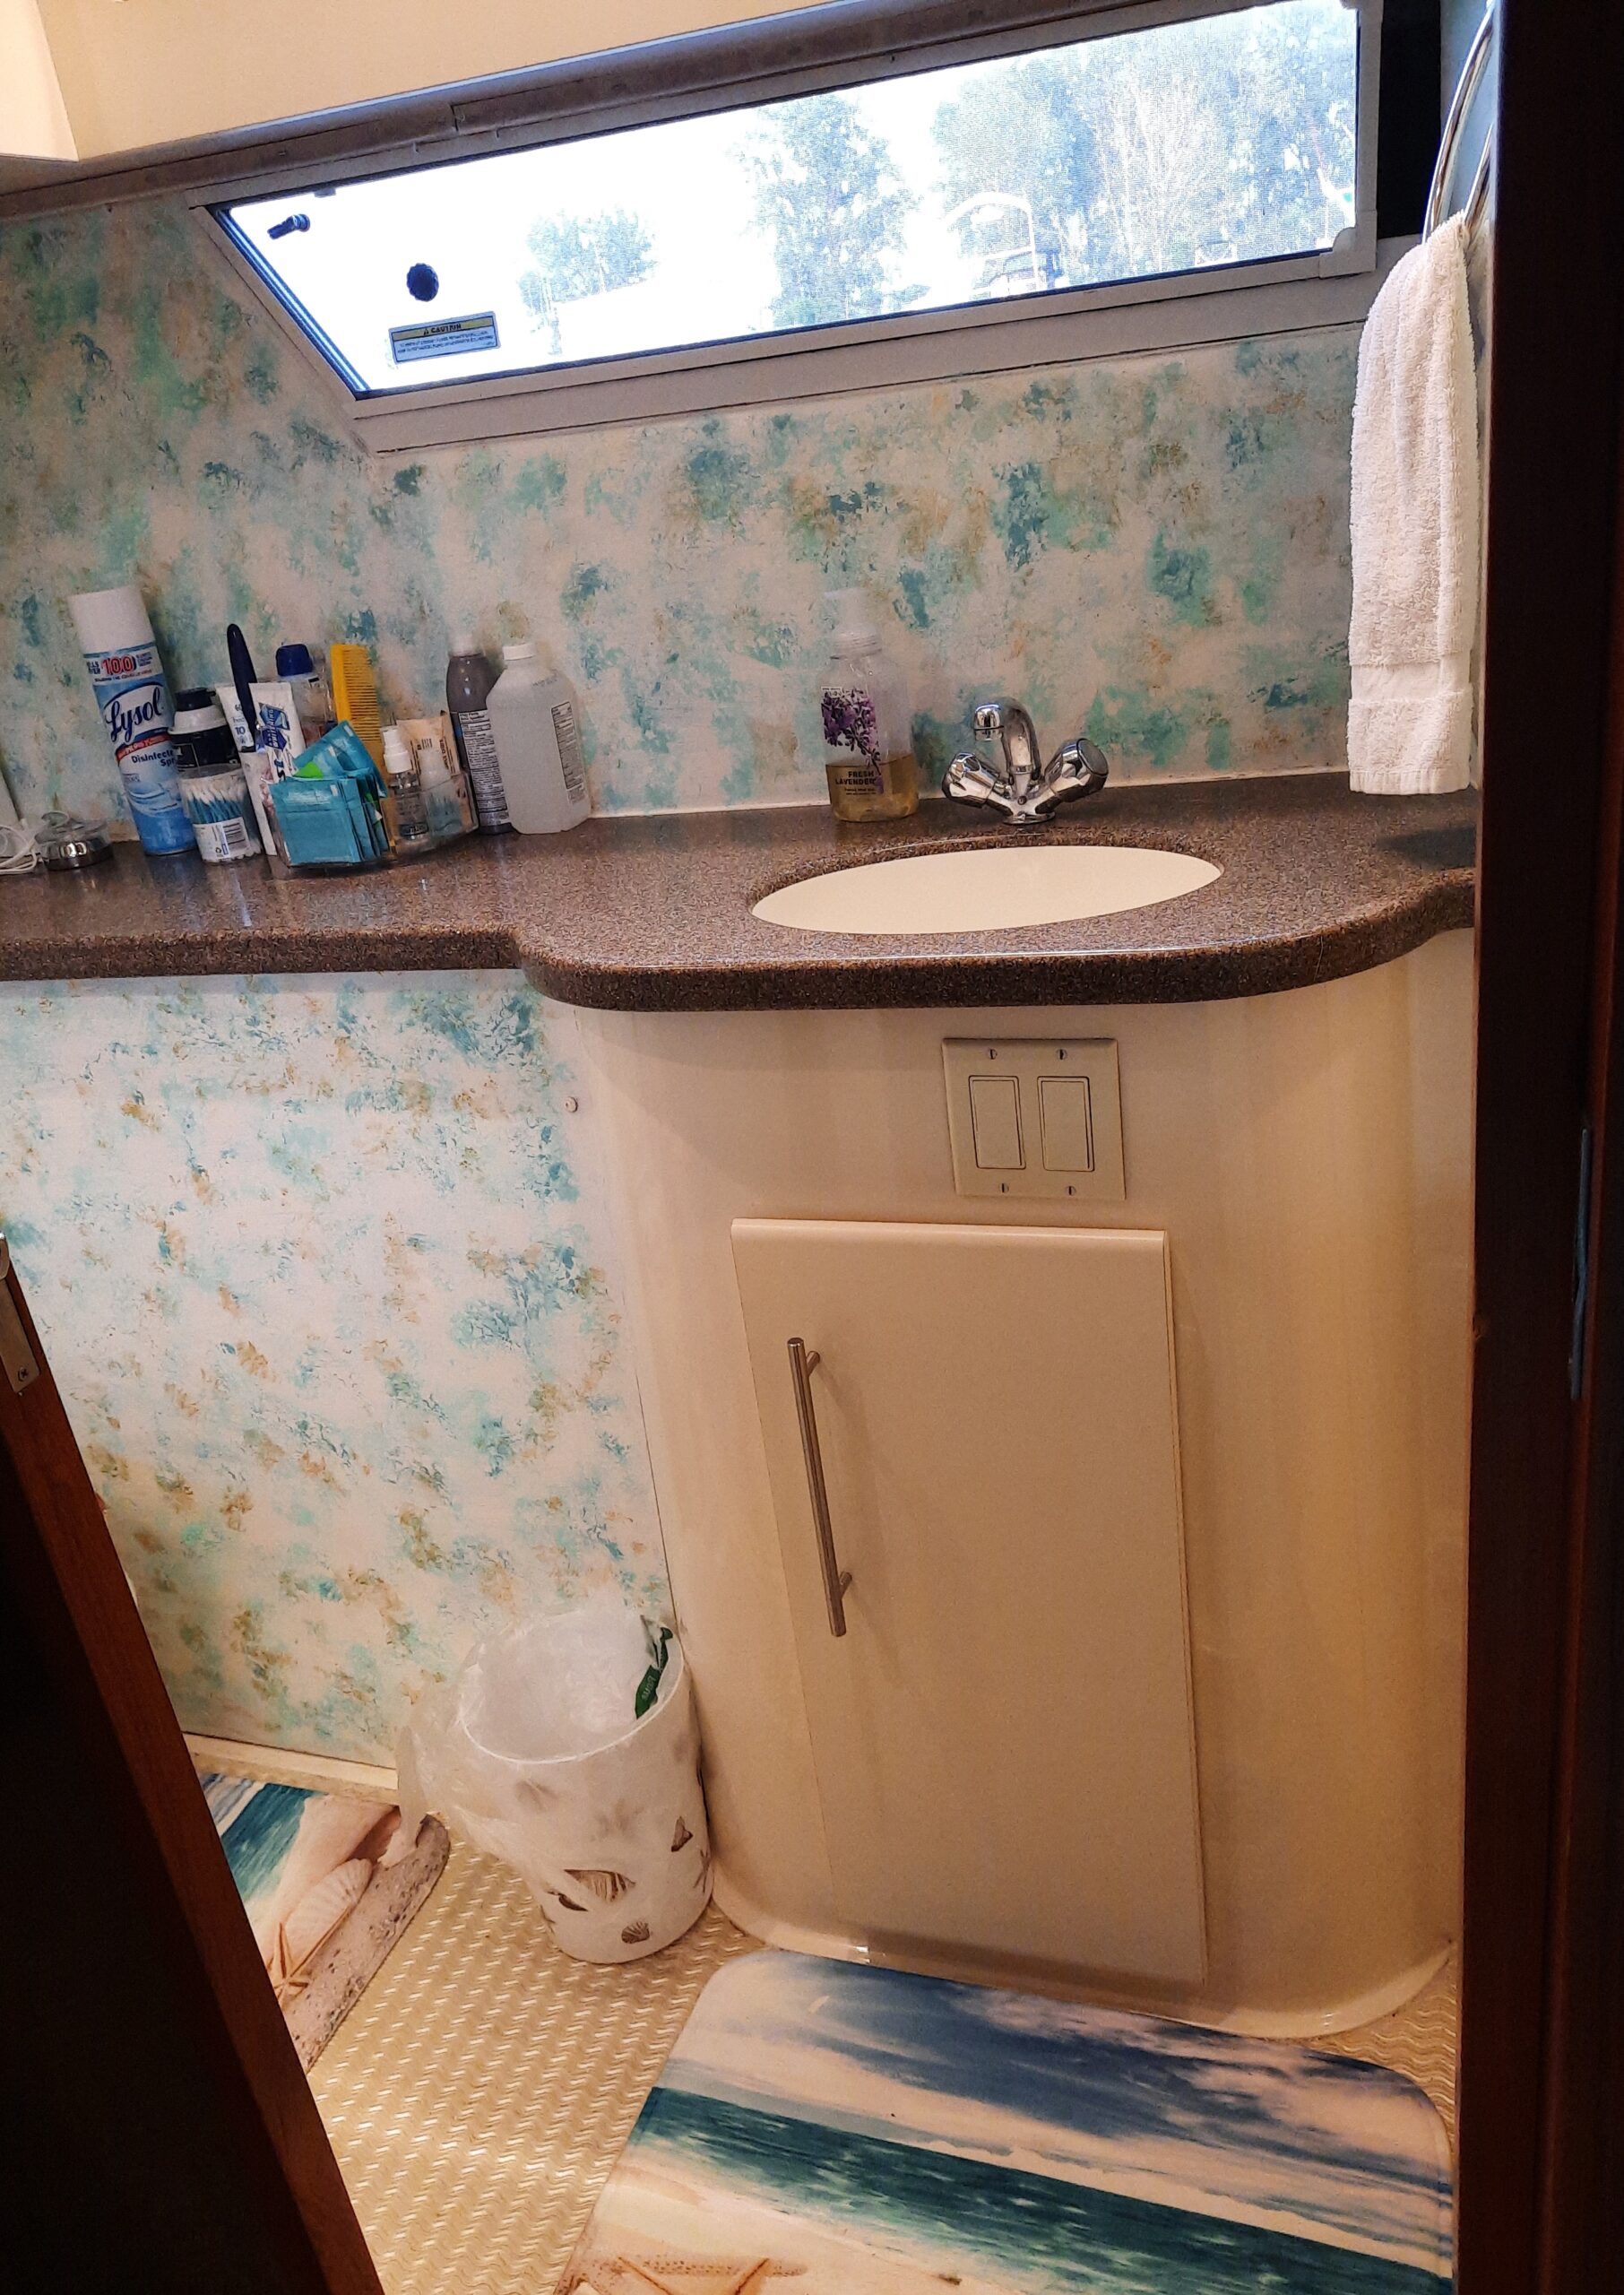
Before painting the aft head. The window shade looks almost black, it’s a deep brown.
When I first came on board the boat I thought the backsplash in the galley was dark but with the windows above the galley it was not so noticeable during the day. Quite a different story when the sun had set and the interior lights were turned on. The galley was a black hole sucking up the light and you could not tell where the backsplash ended and the countertop started.
I went from: Maybe one day I will change the backsplash but for now it is a low priority. To: I have to do something with the dark galley backsplash ASAP! As for the aft head, I had already removed the dark window shade from the window in the head. That helped. The only problem is now you could admire the deep brown color on the walls. In case you can not tell, I say this facetiously. How to put it delicately? Well….the color of the walls matched something that you left behind in the toilet. When Michael got a good look at the color of the walls in the aft head, he said something to the effect that we needed to change the color from **** brown to something else. This statement is quite significant because Michael rarely cares about color choices and he seldom makes a remark where color is concerned. Yep! Time to get rid of the color in the aft head for sure! And while I’m at it, might as well do something about the backsplash in the galley at the same time.
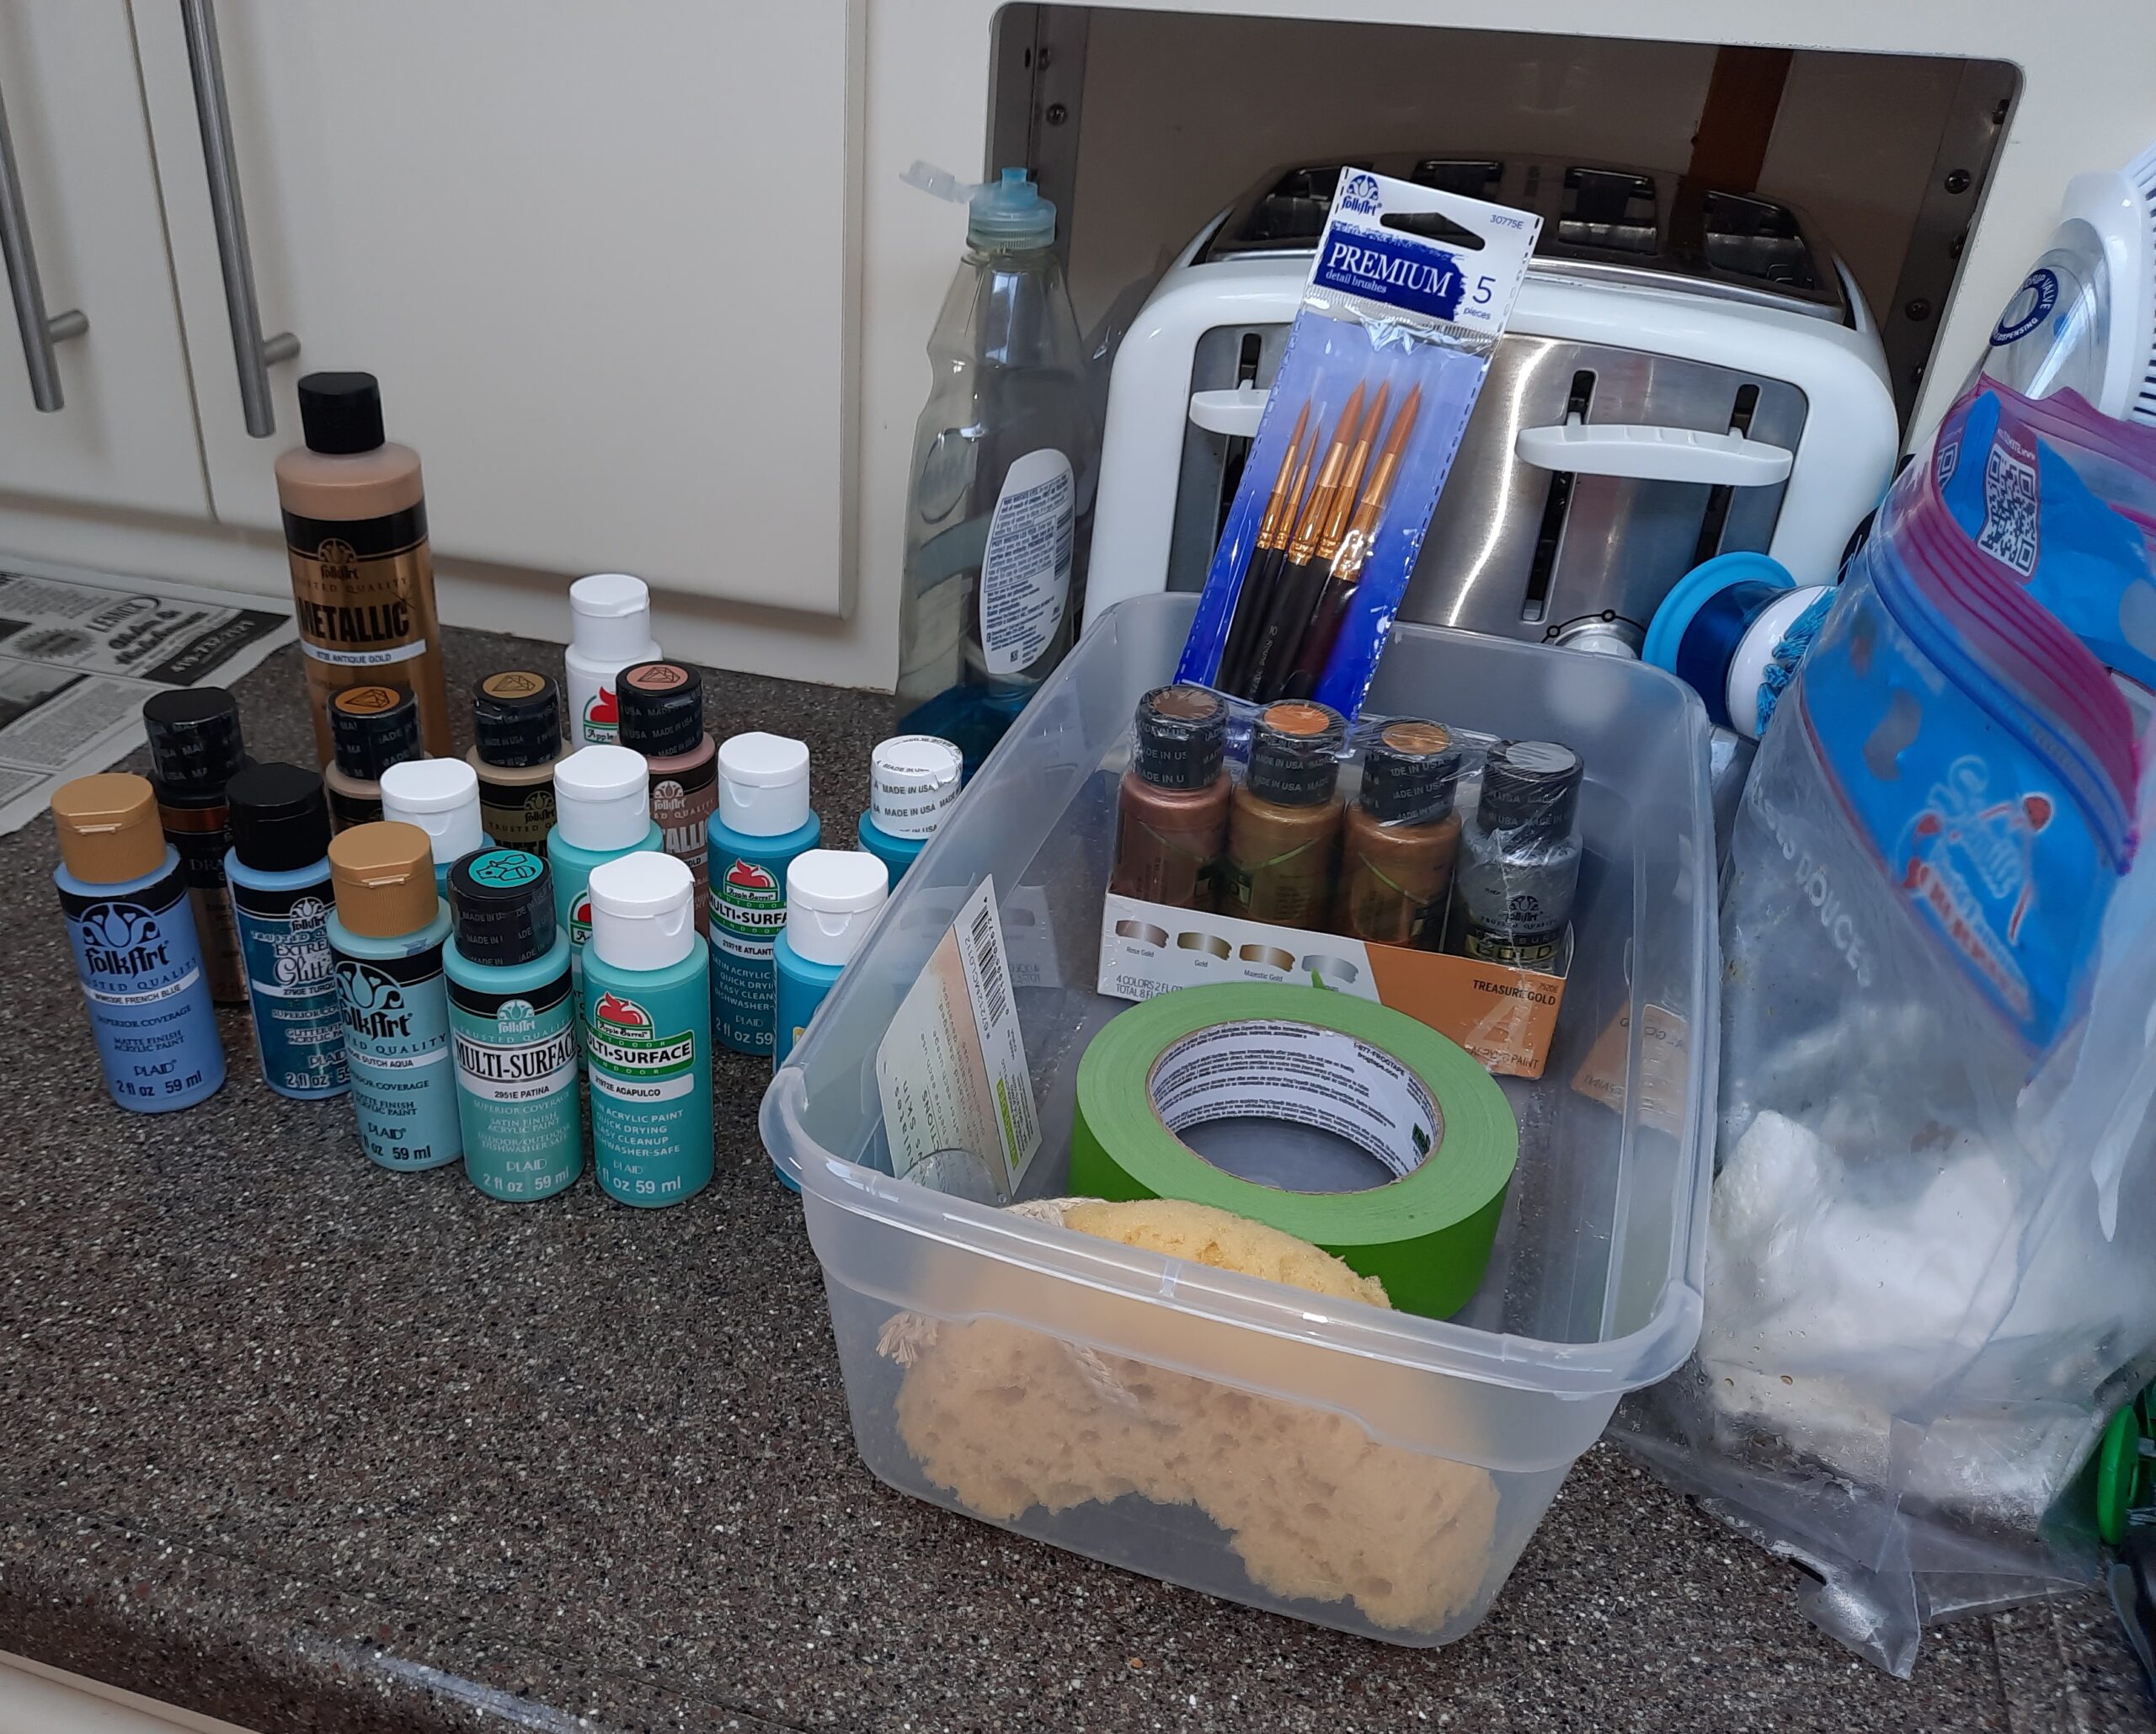
Painting tools assembled to get the project underway.
Everything is ready to go for the painting to start.
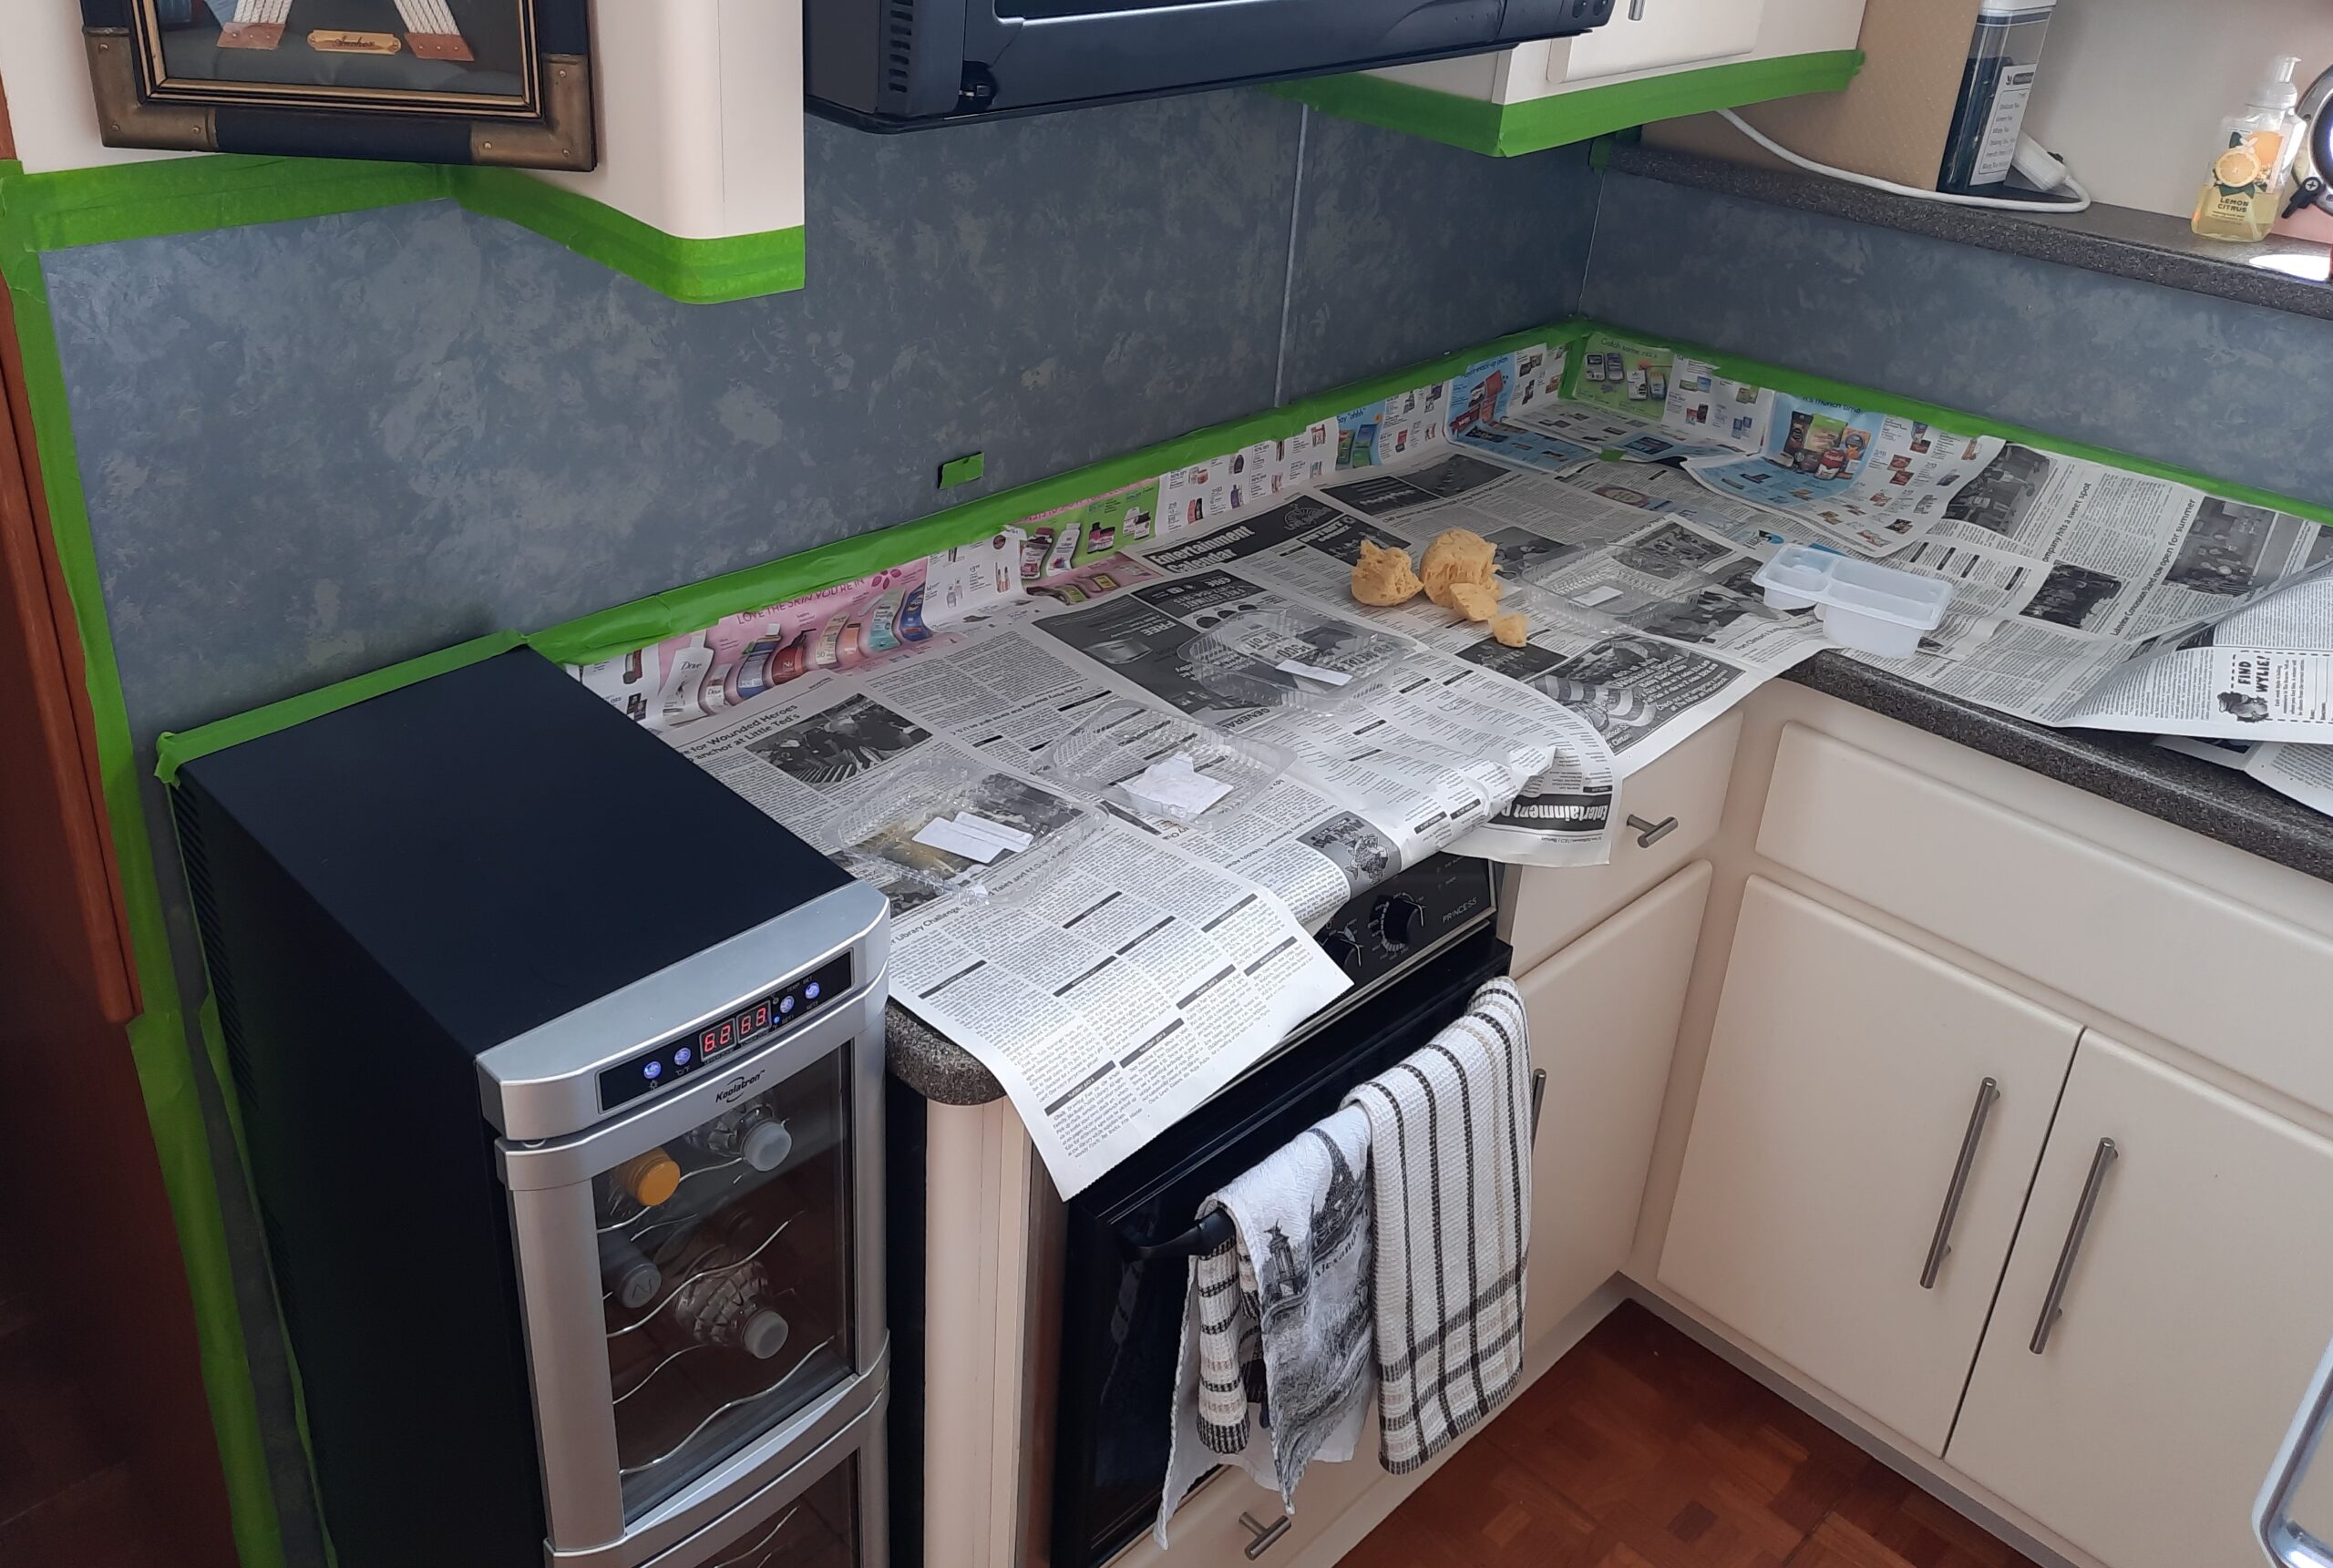
Newspapers and taping off edges before the painting of the backsplash starts.
I knew that the aft head was going to be painted because the curvature of the walls would not support tiles of any type. For the galley I had hoped to find some “stick on” tiles that I had seen people put into their RV’s. Light weight and fairly easy to apply. When I went to the home improvement stores the cost was way too high. Now of course with the pandemic the cost of most things had gone through the roof. Maybe the cost would be more reasonable in the future and I could put on tiles at a future date. Decision made. Paint it is!
I collected all the paint and tools I needed to complete the job and picked a day when I could get most of the painting done. Both areas took me two days to complete the sponge painting technique. Now, that the painting is done, the galley is not a black hole and the aft head doesn’t look like…. well….something bad happened with the toilet. I was pleased with my effort and Michael said it was an improvement.
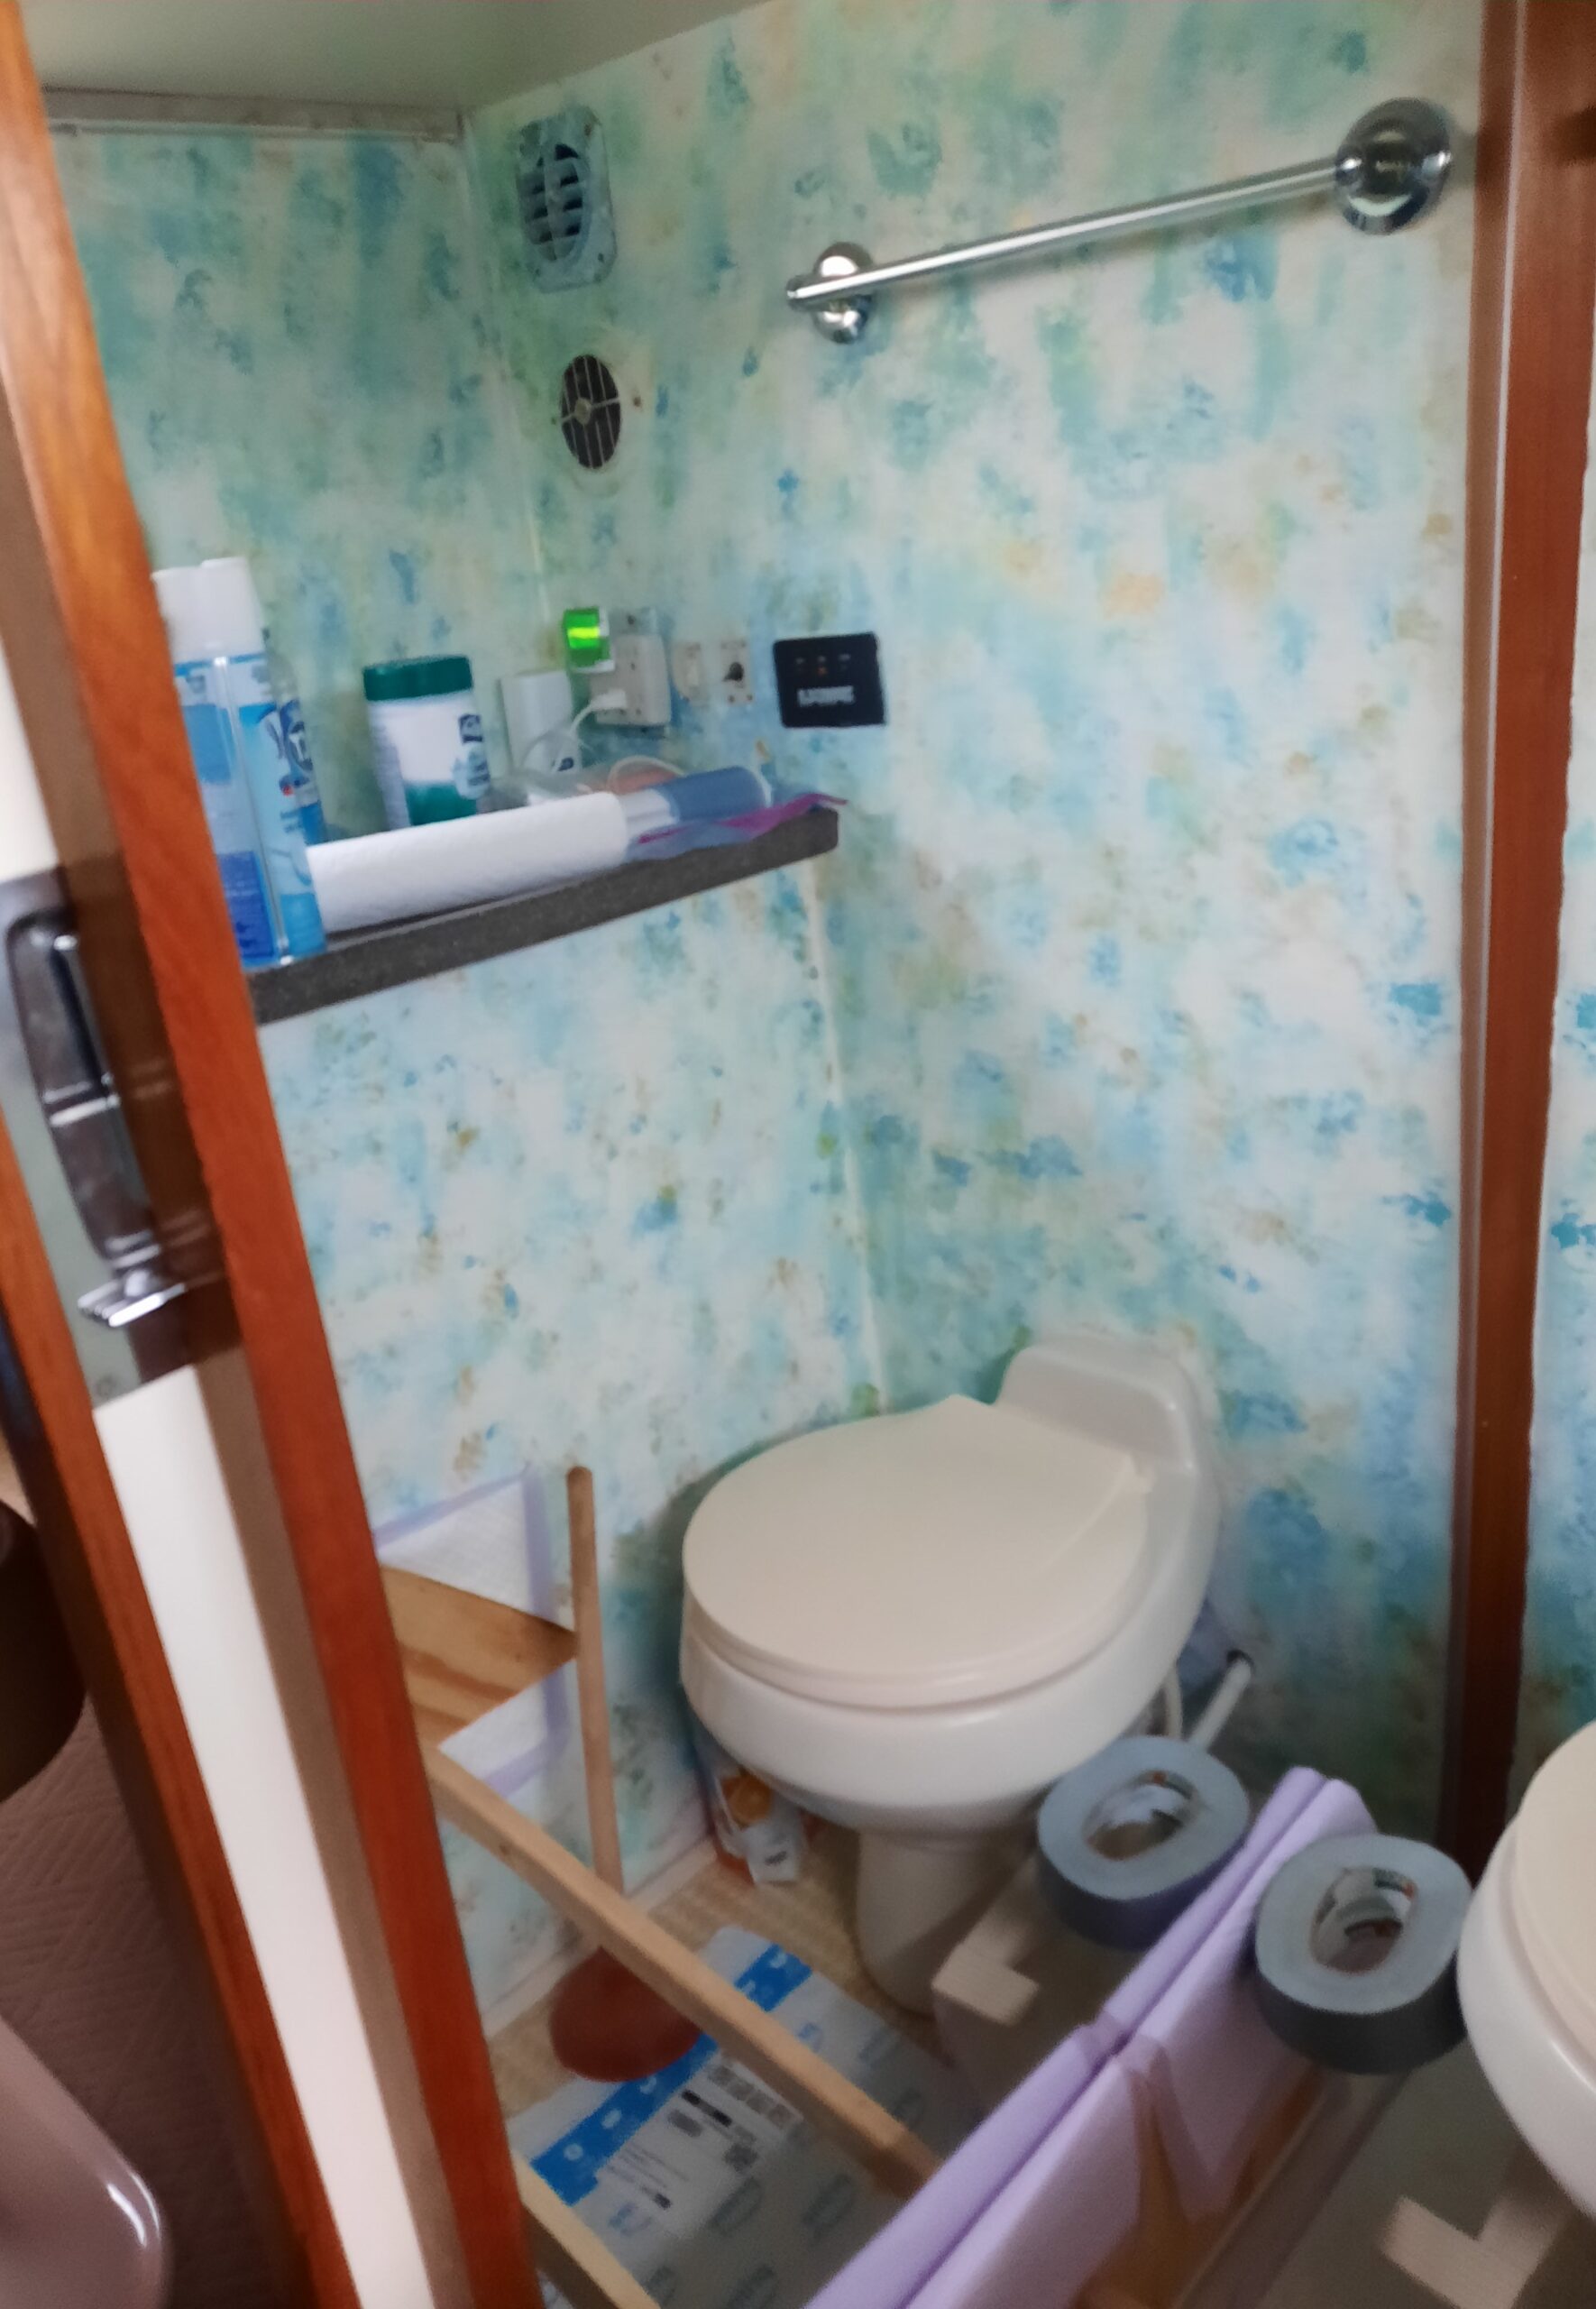
View of the head area after the painting was finished.
Compare the the before picture…now the brown is gone!
Finished paint job of the master head (bathroom).
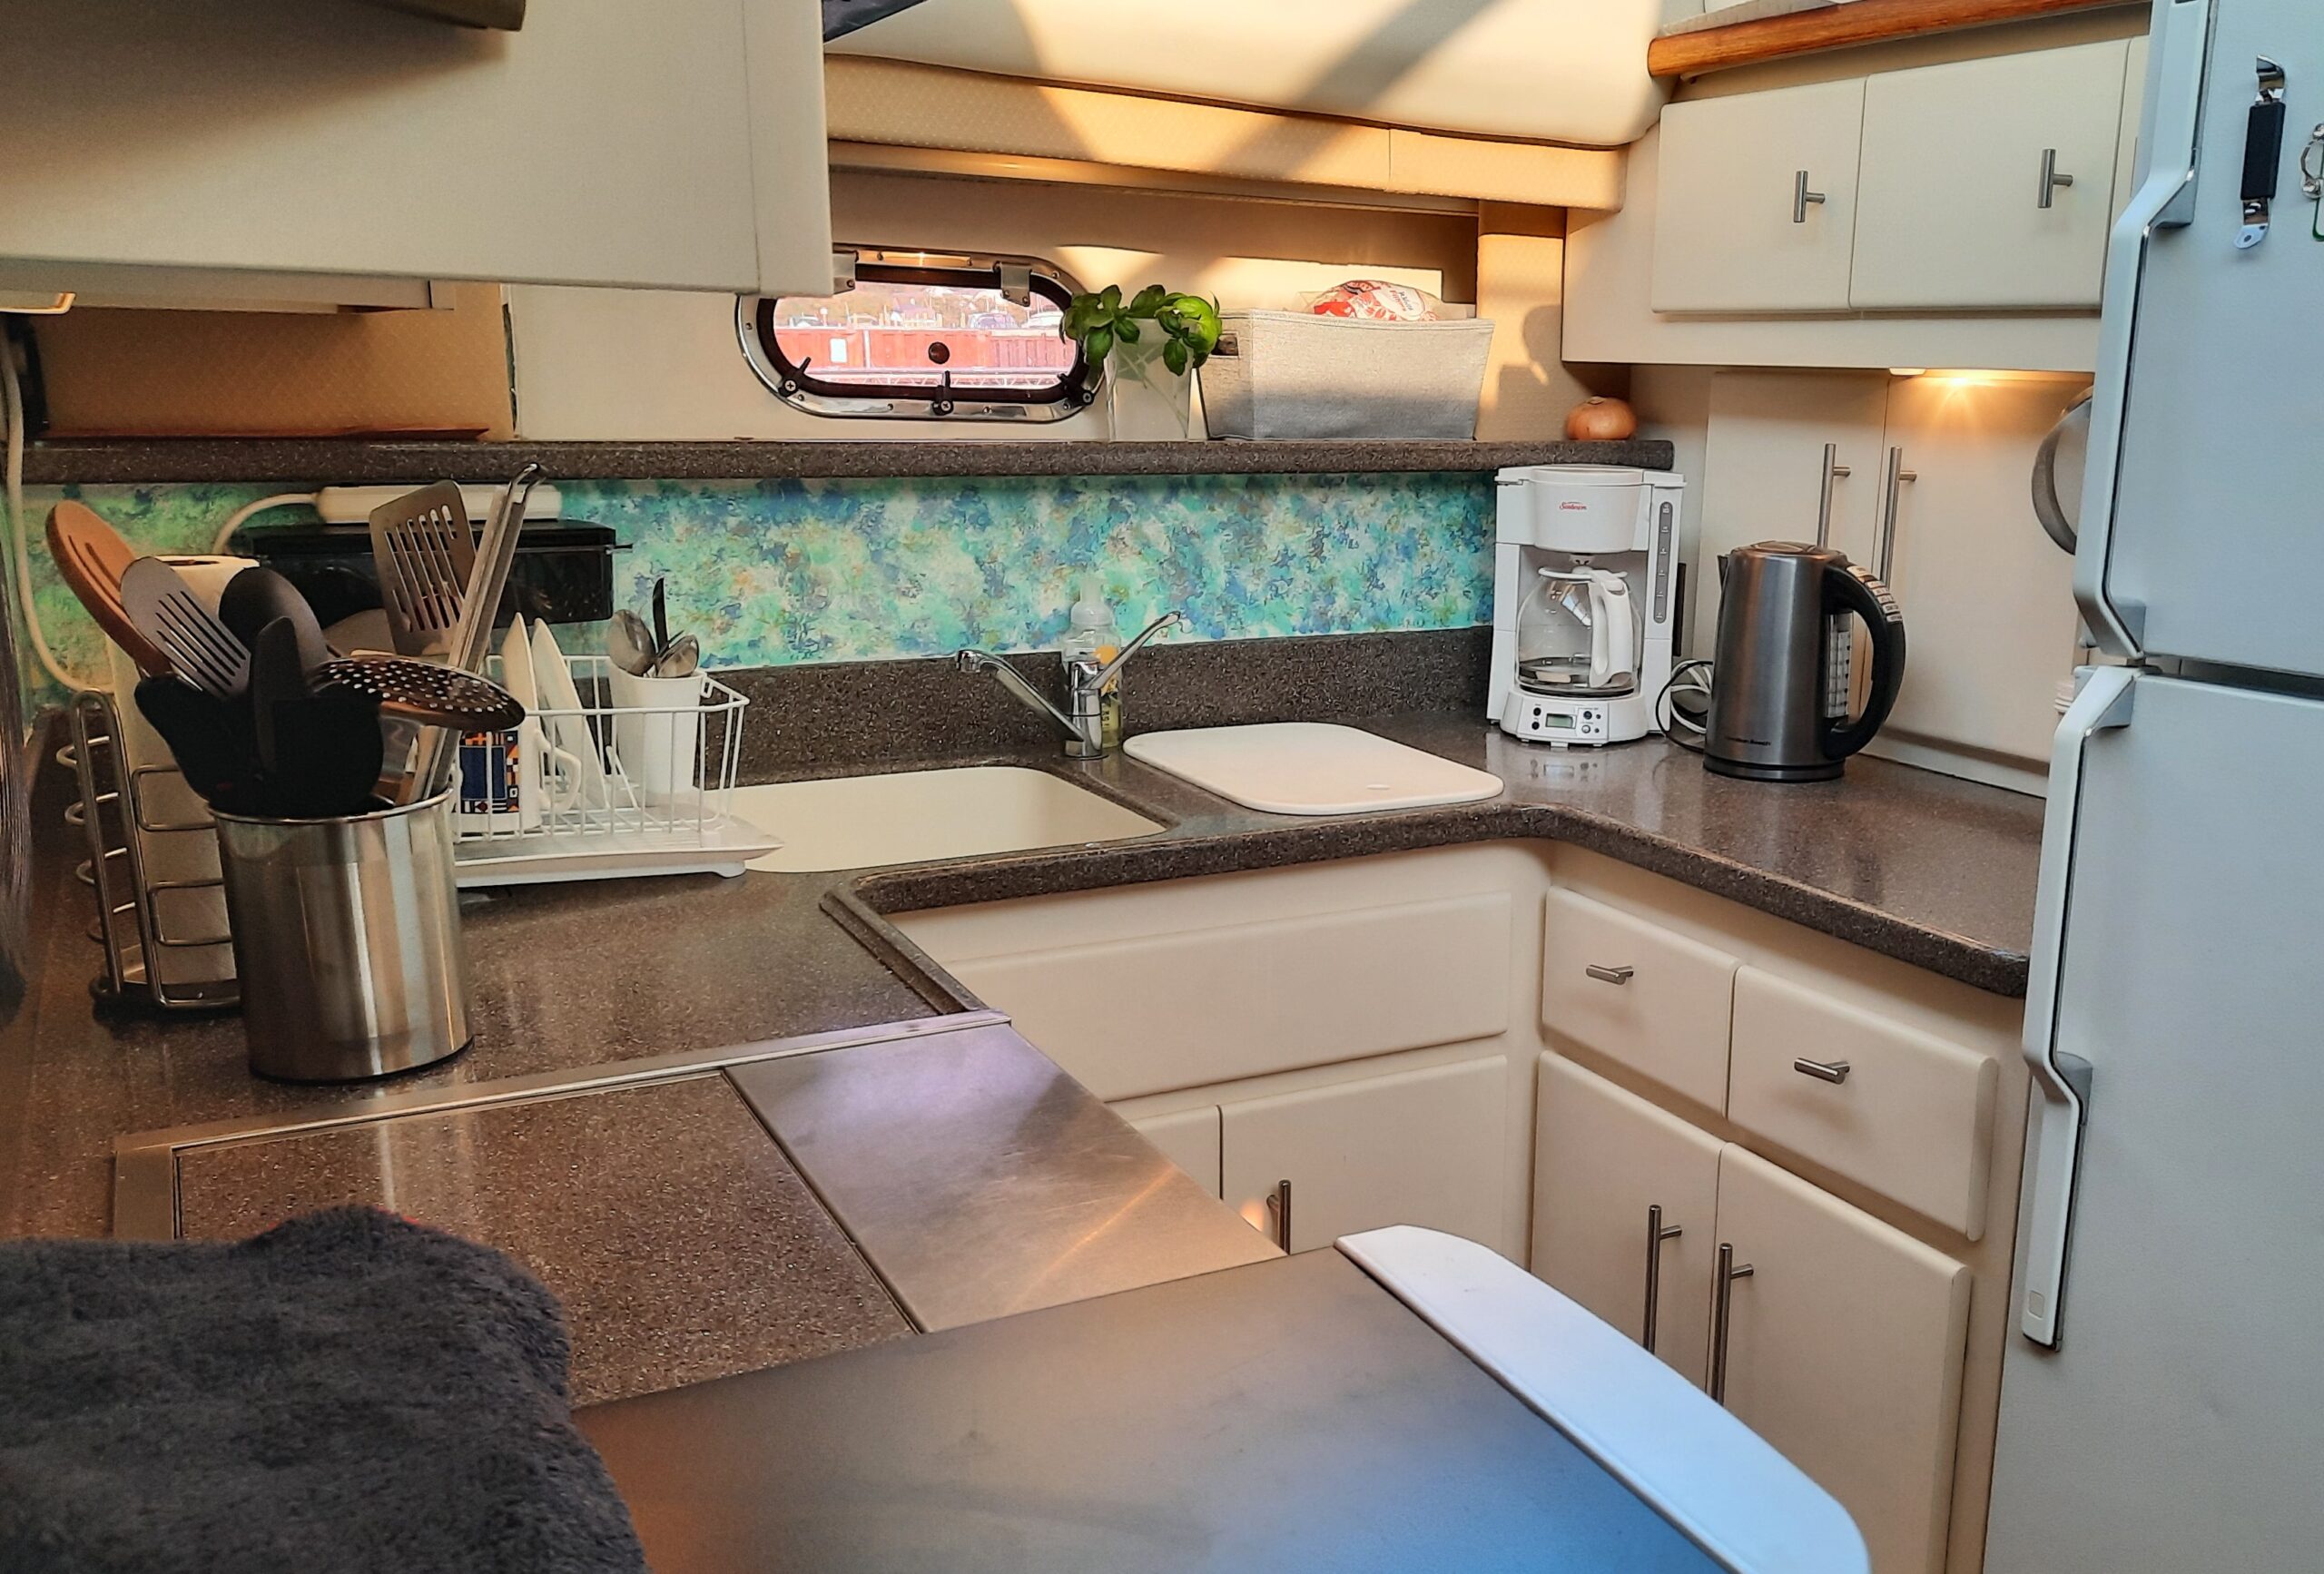
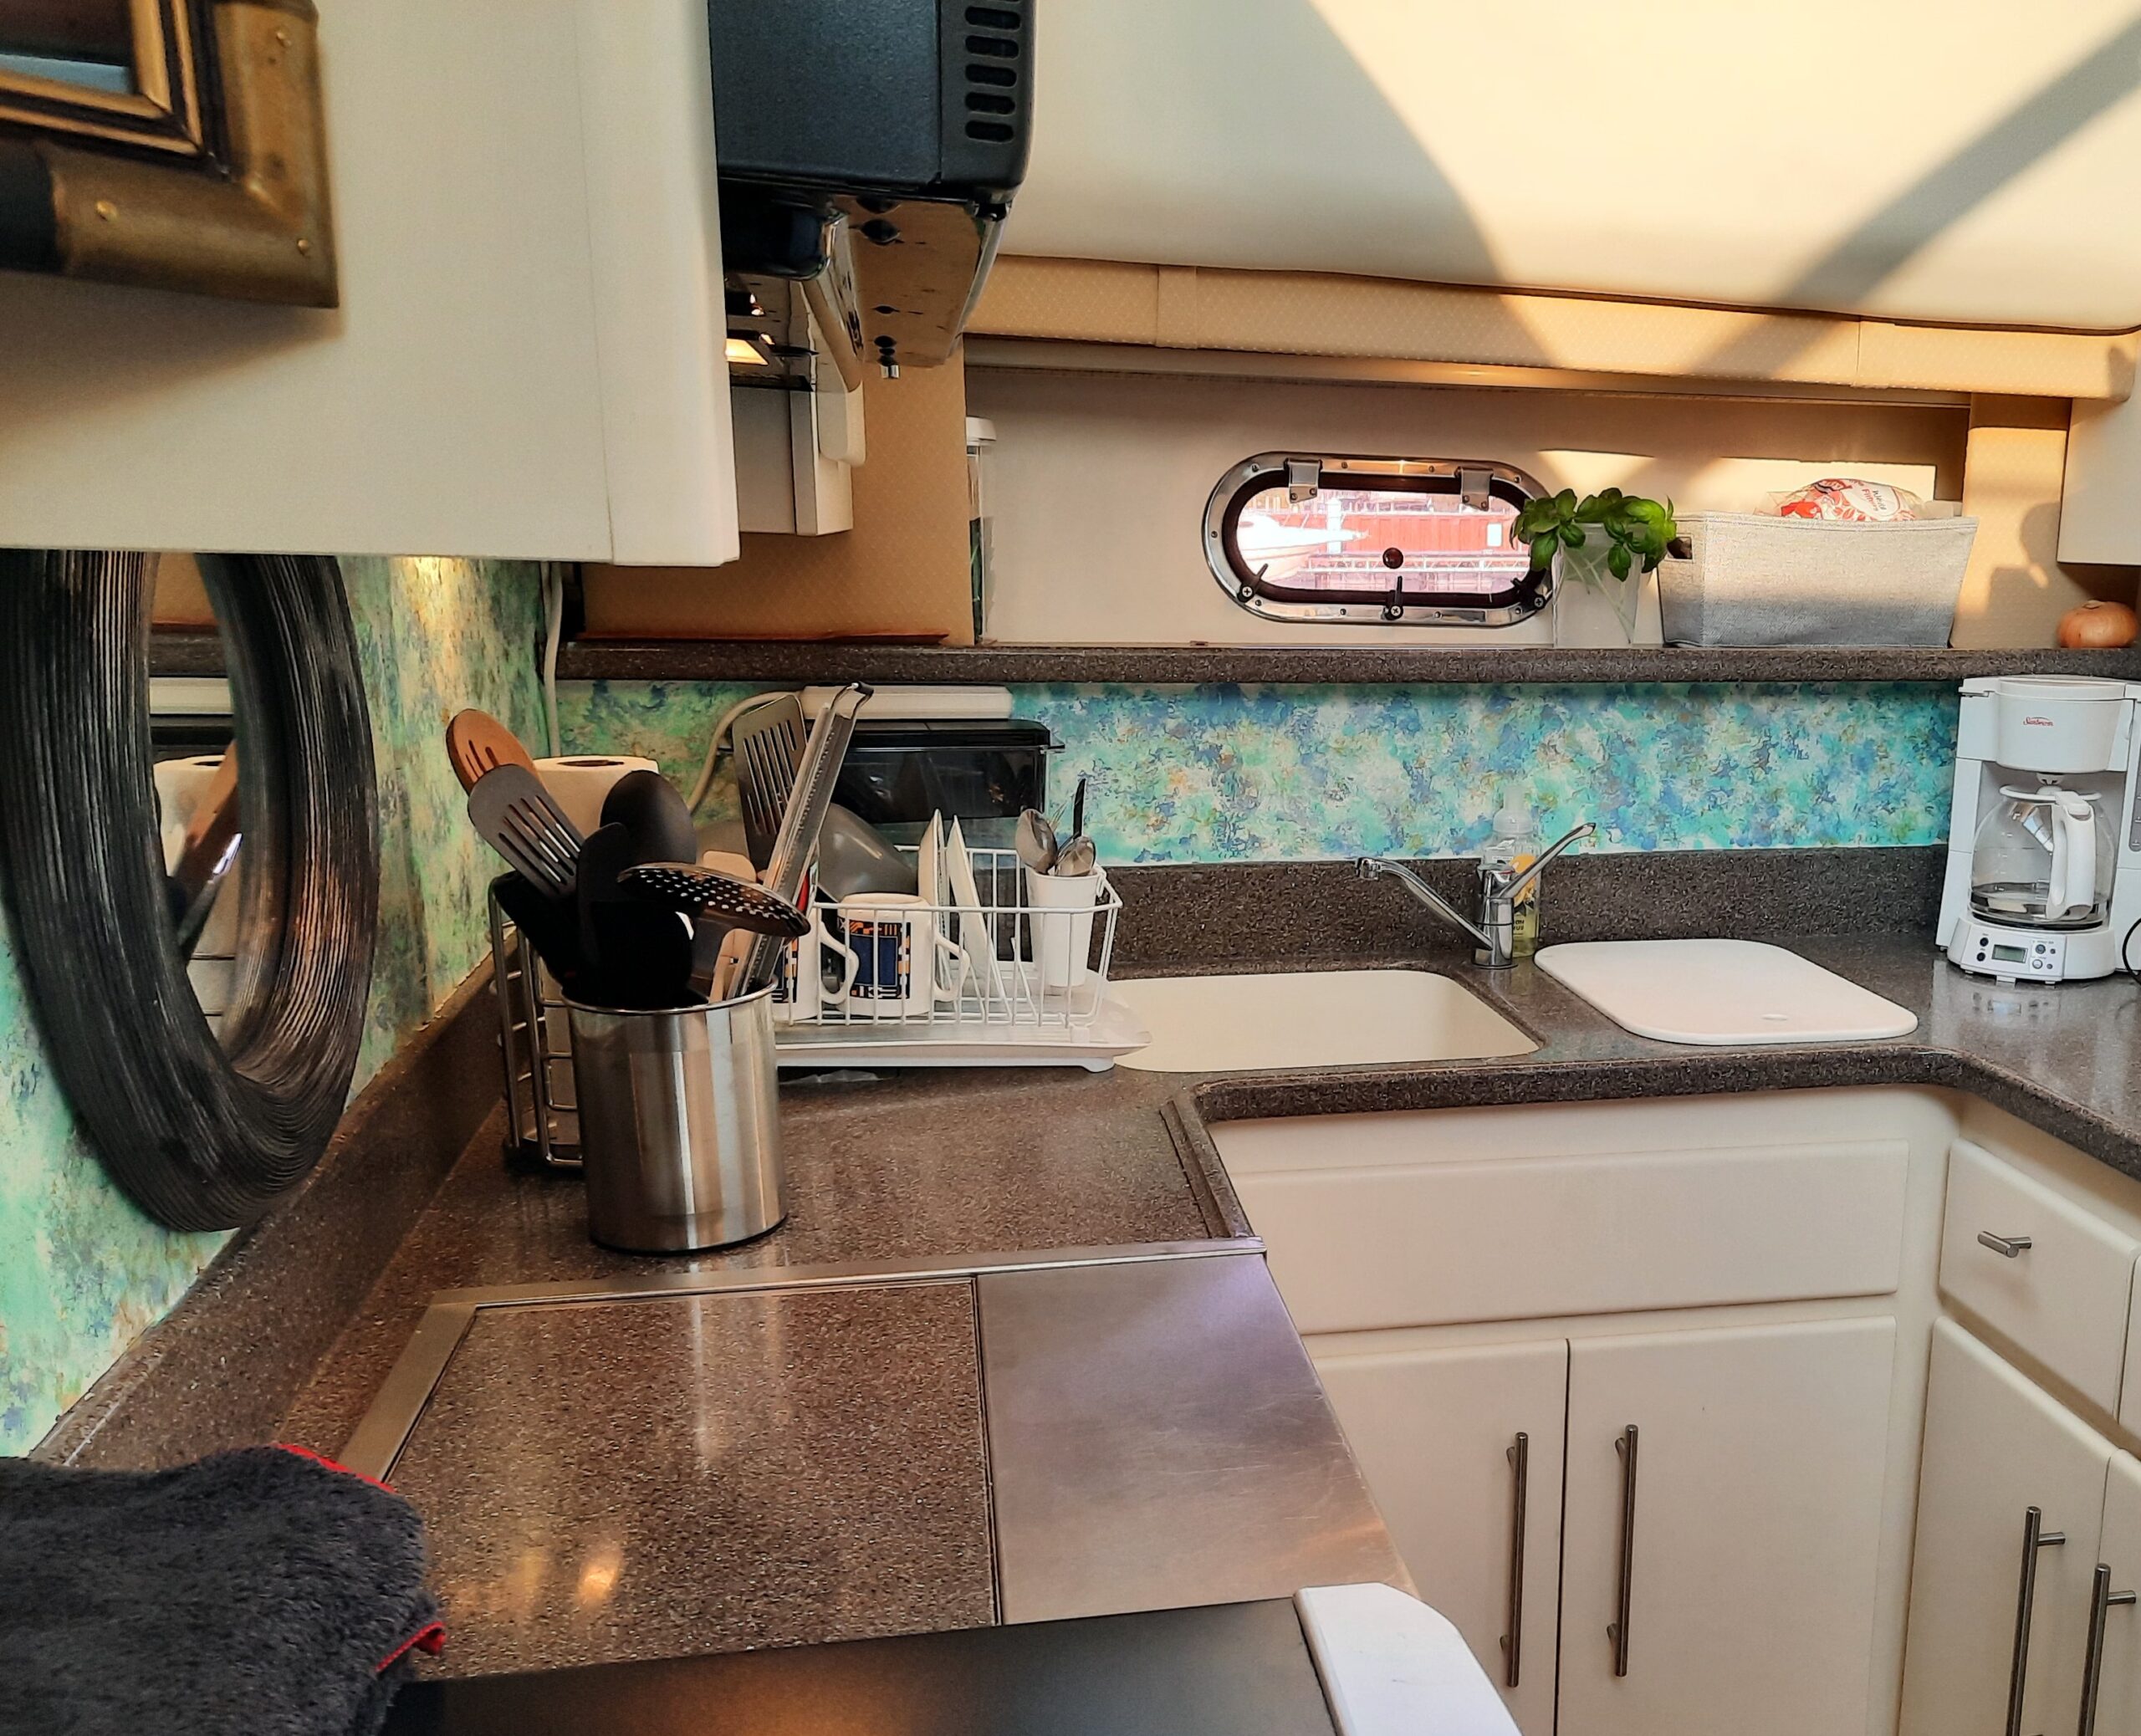
Here are some pictures of the galley with the backsplash sporting it’s new sponge paint technique and brightening up the work space. Now I don’t feel like I am working in a dark cave anymore.
Finished with the painting of the backsplash in the galley!
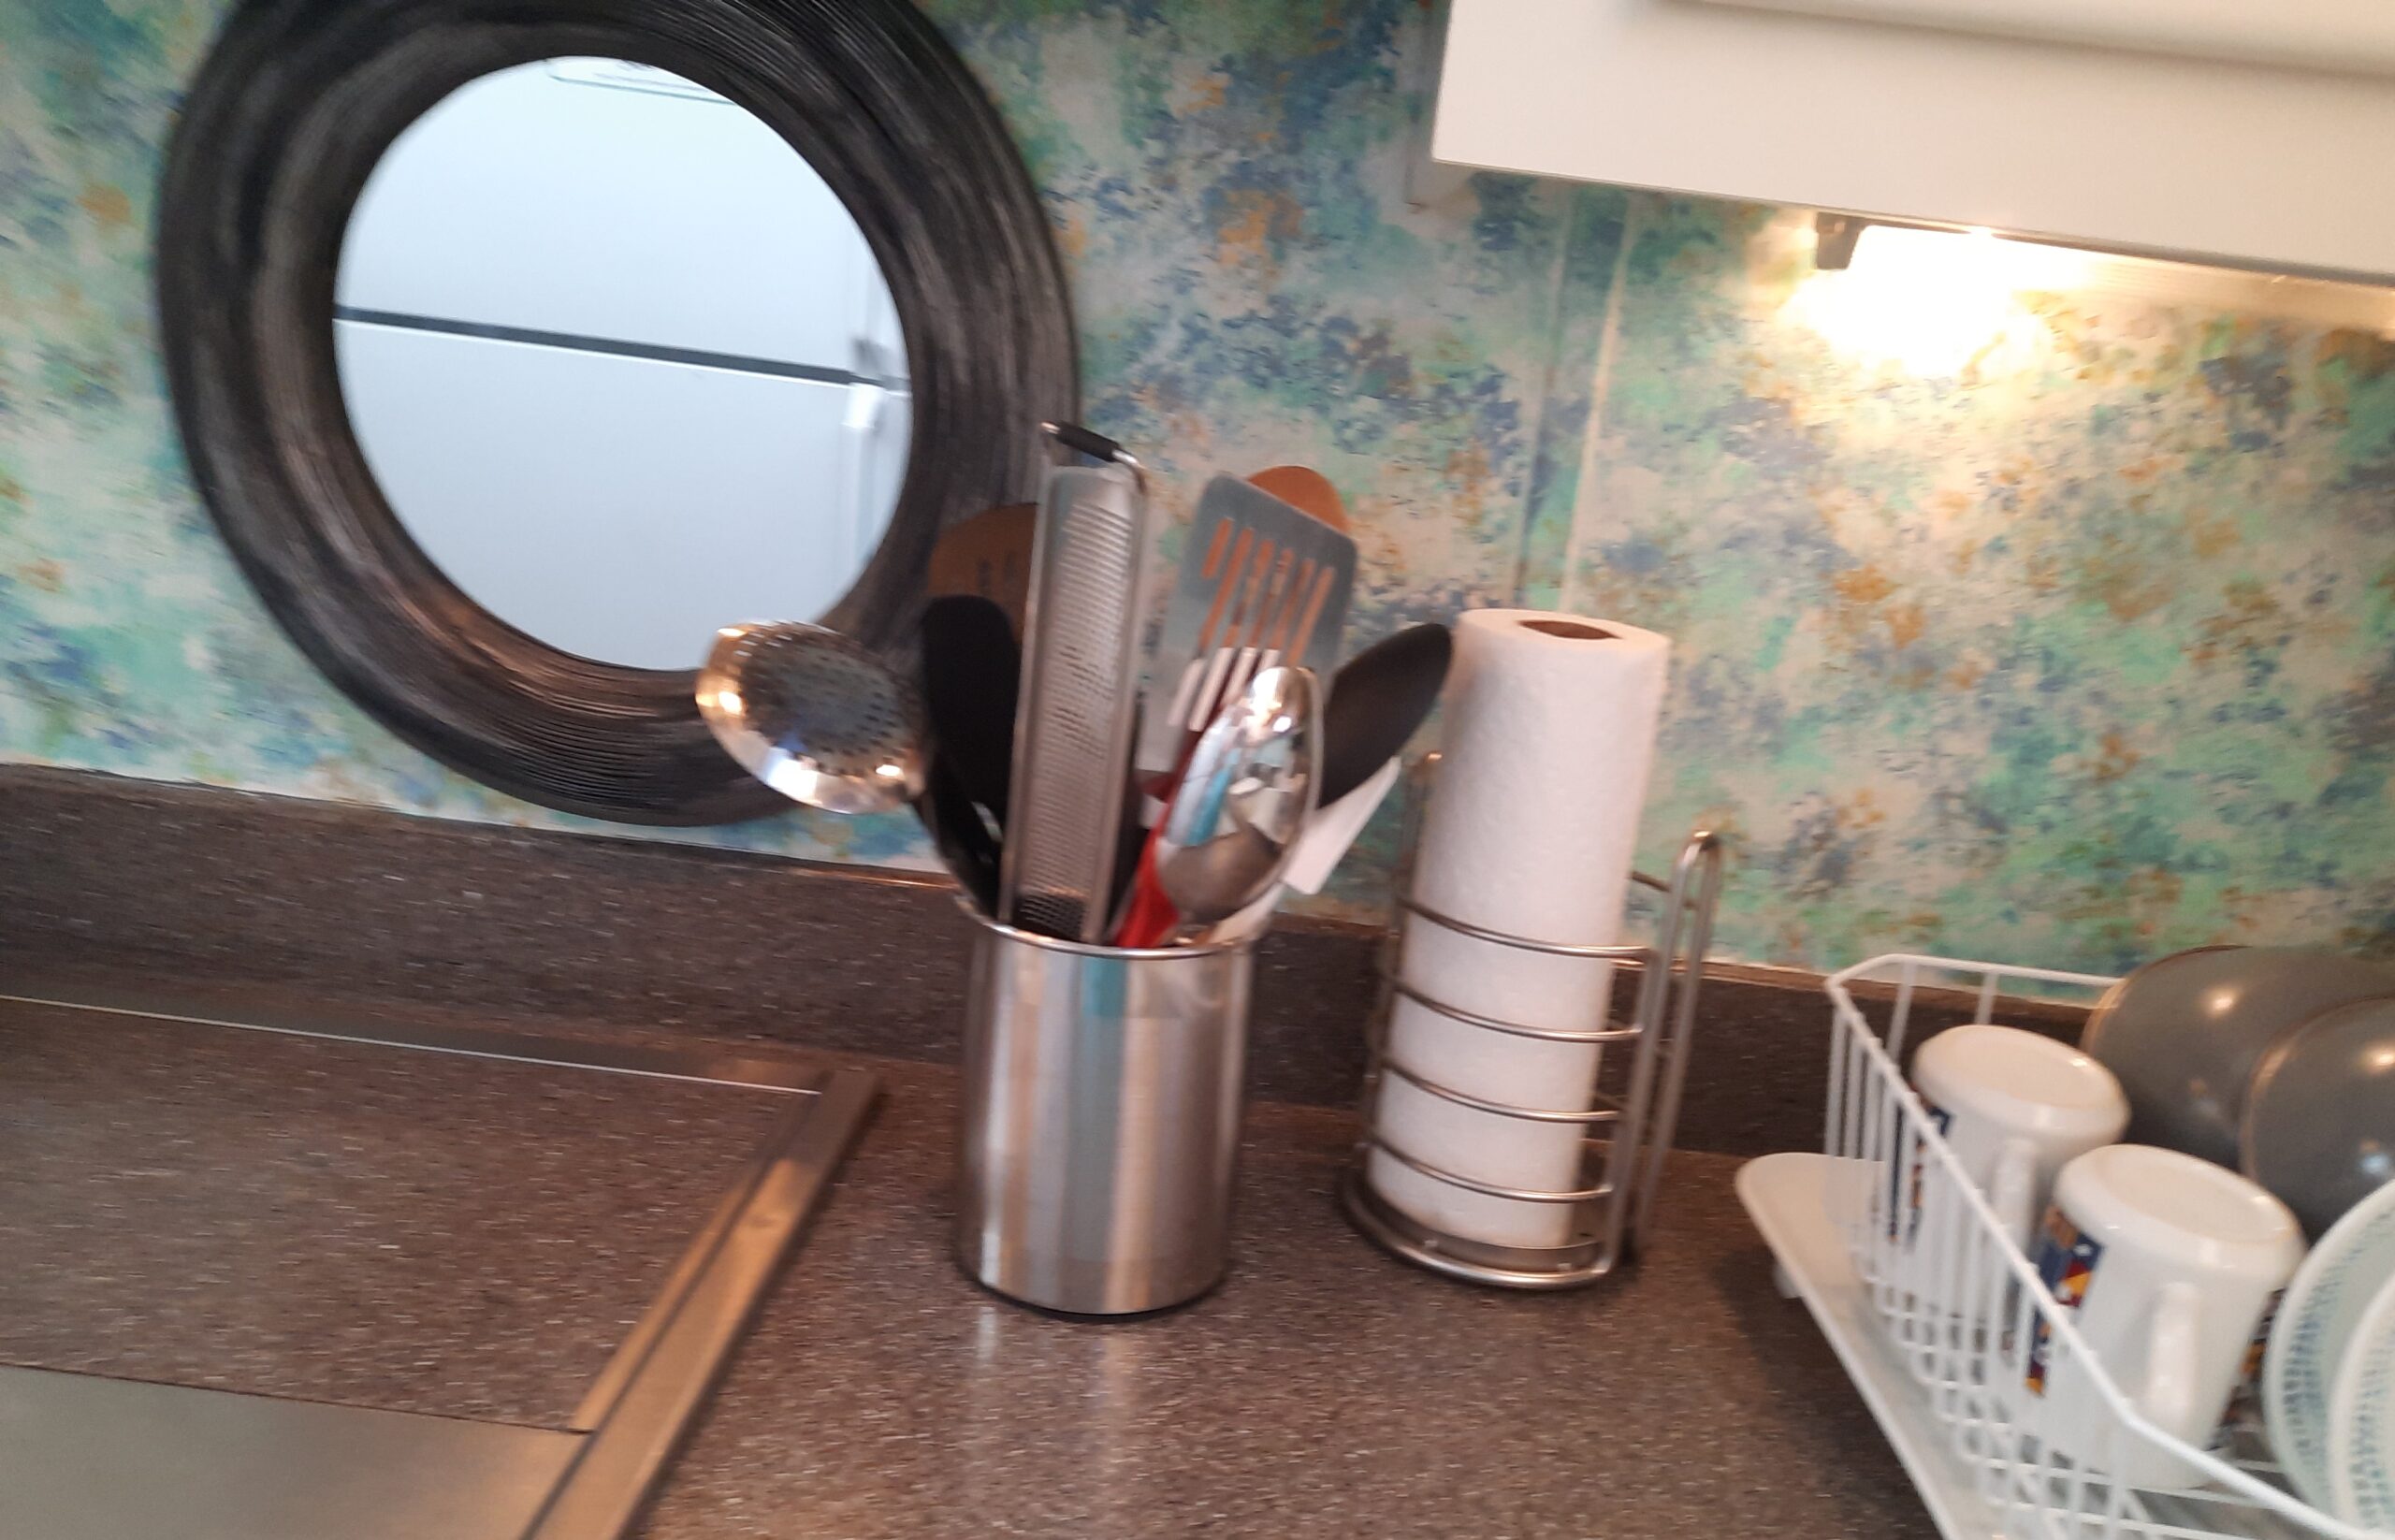
Close up of sponge painting technique.
Backsplash finished above the sink.
Now there is some contrast between the countertop and the backsplash.
One more job off the to do list done! More light in the cooking area.
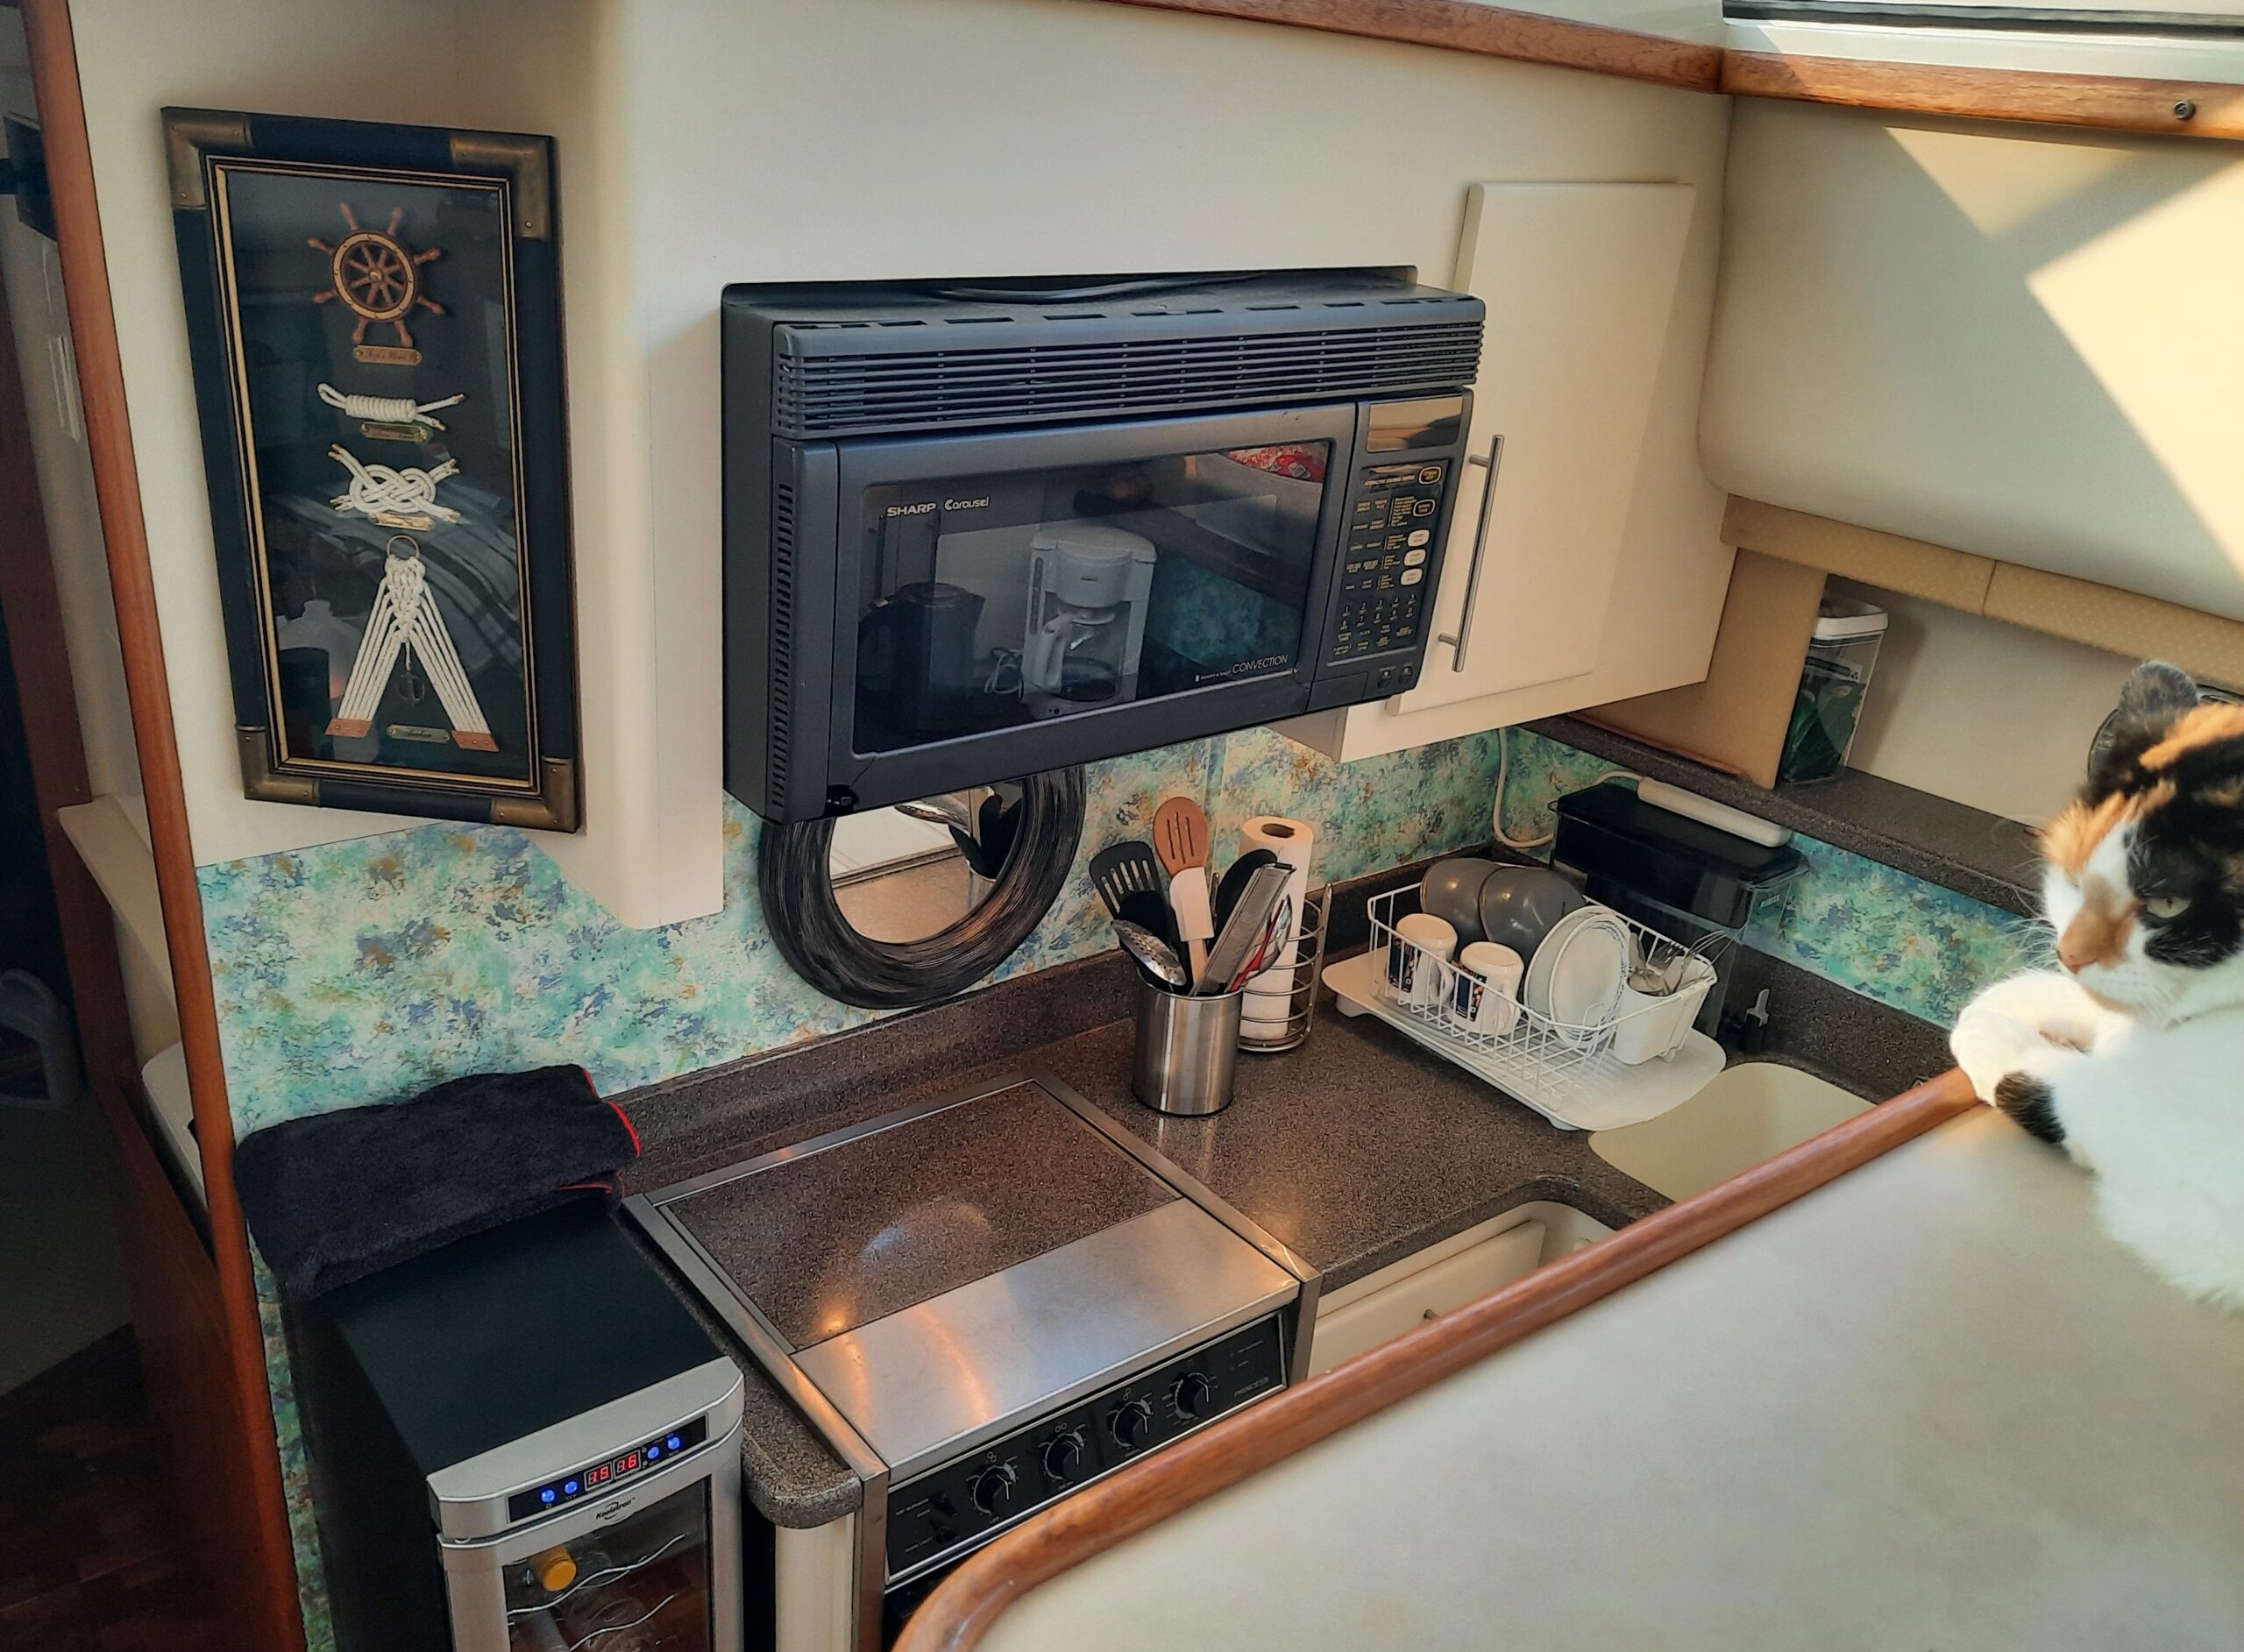
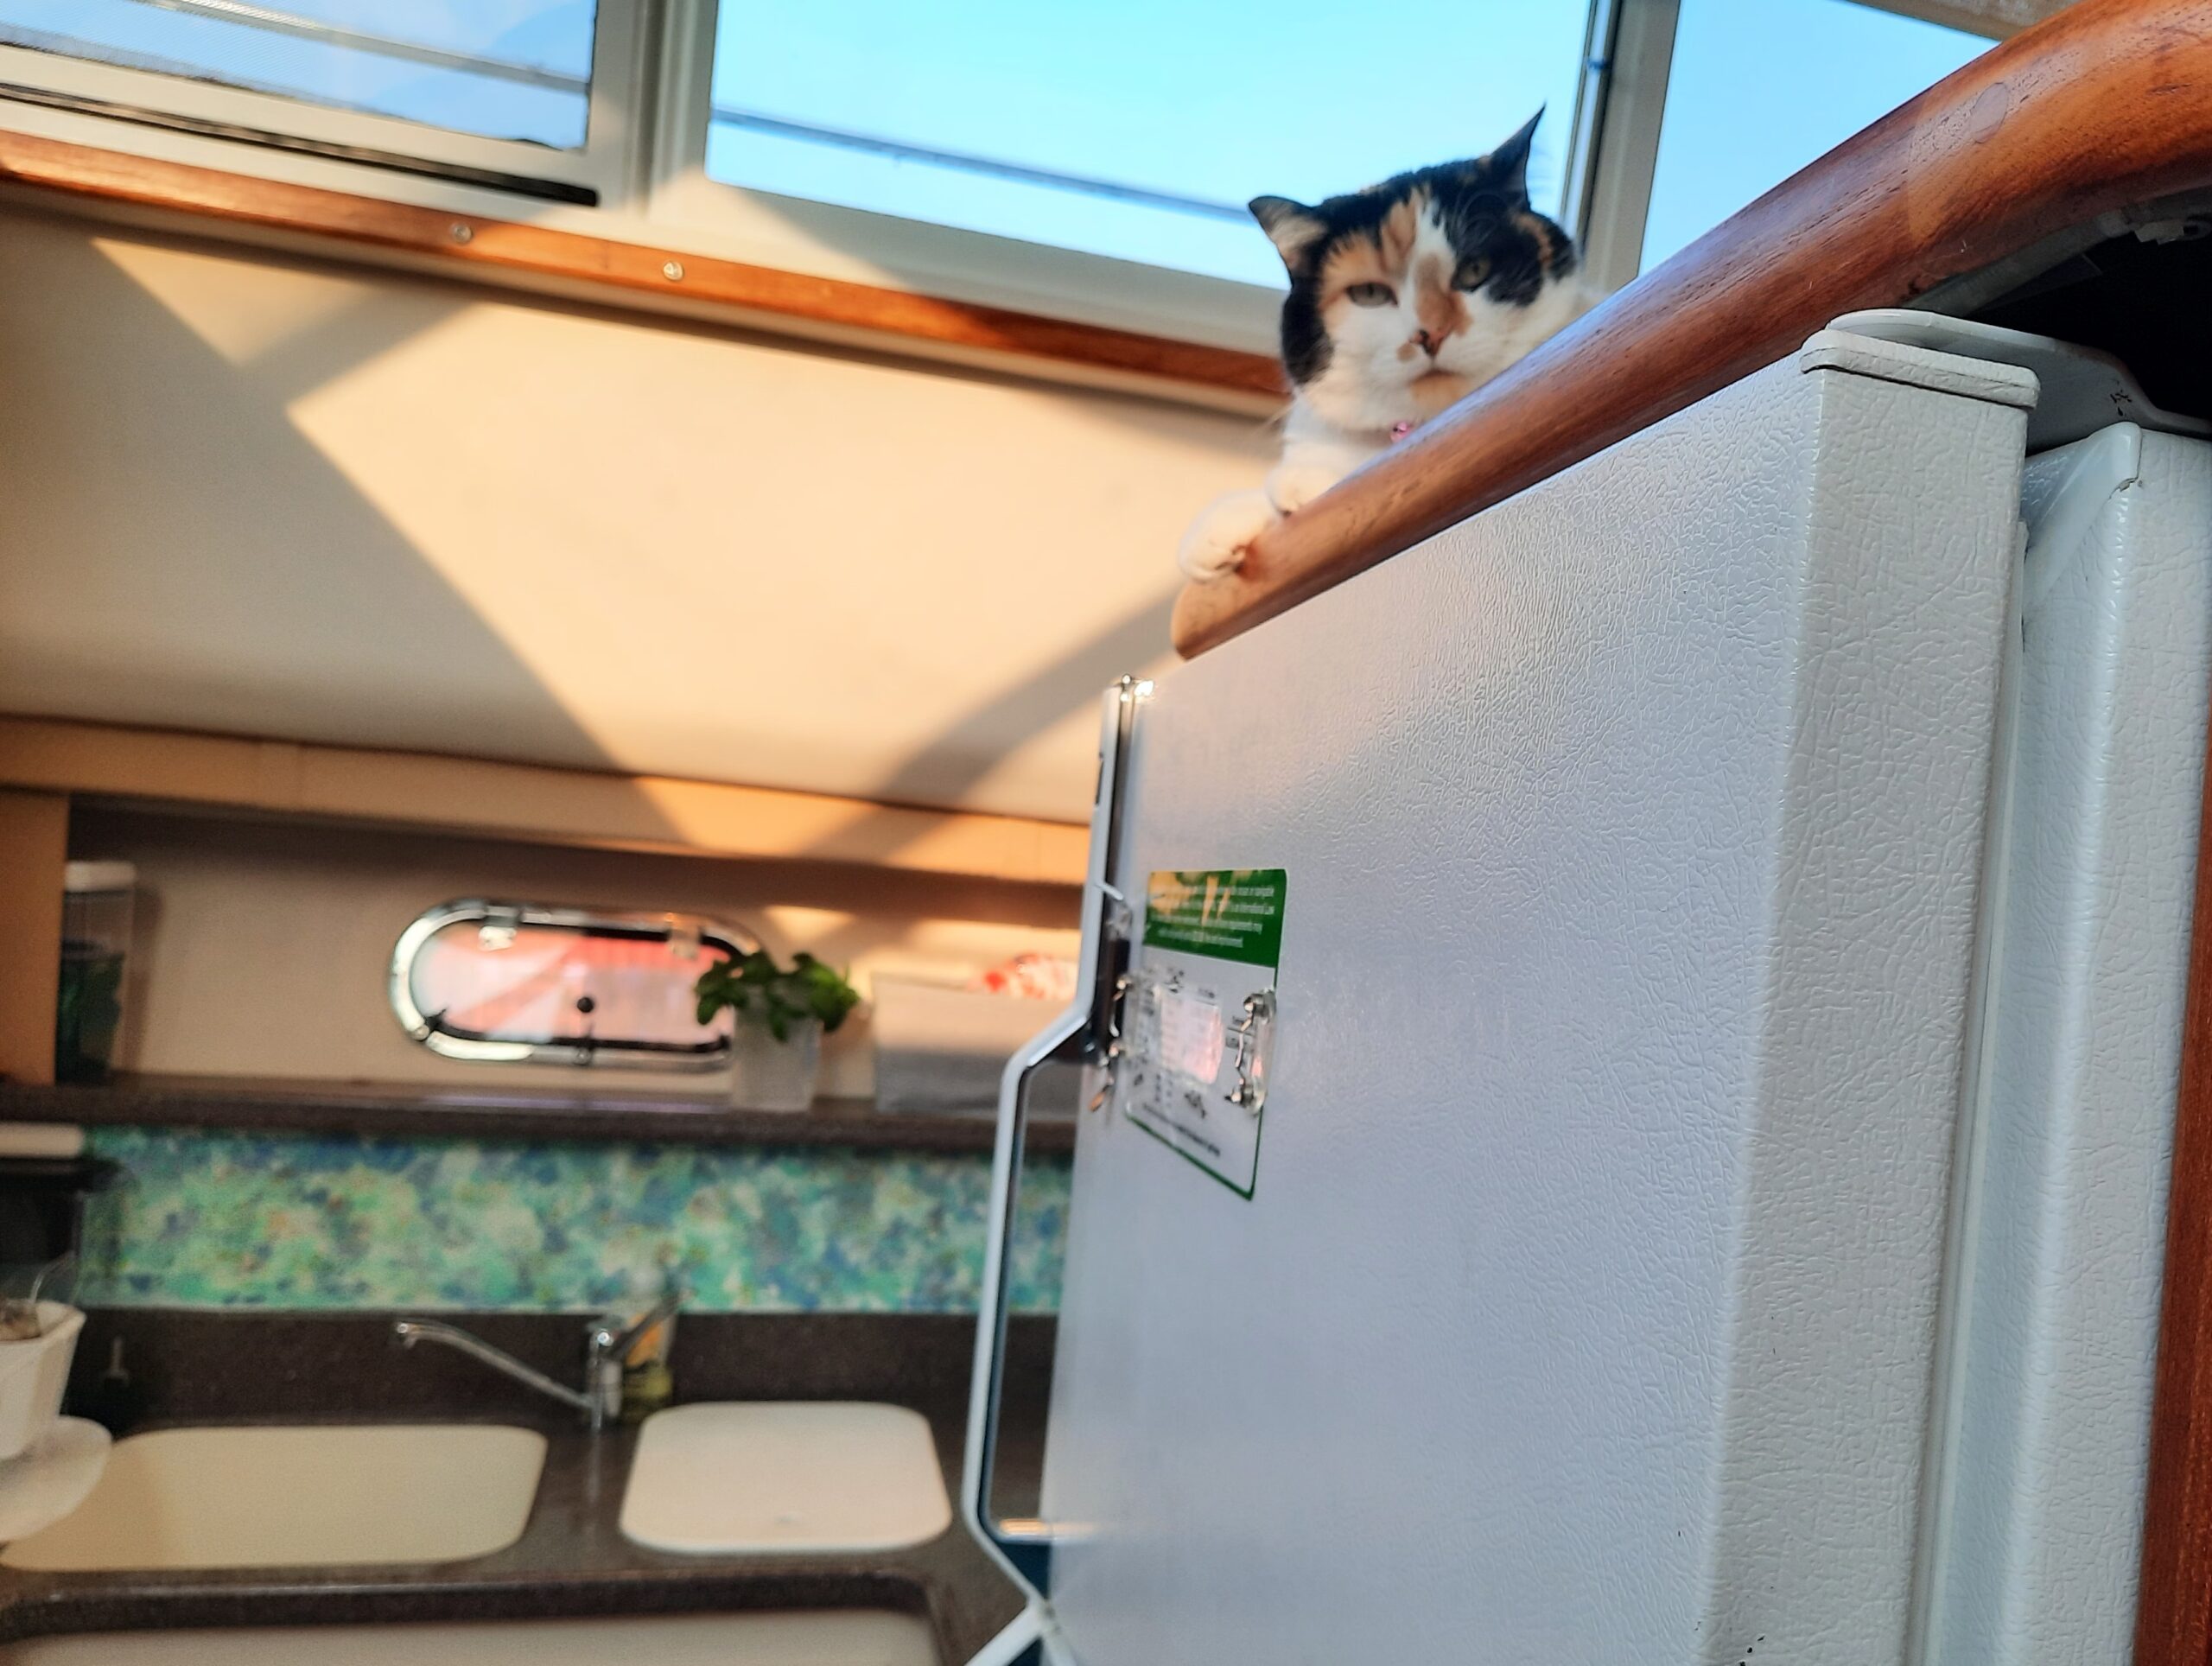
Miss Kitty checking over my paint job in the galley (kitchen).
After the head was painted Michael decided that the next project was to fix the bulging plastic mirror that covered the wall beside the toilet. We had noticed a bulge at the base of the mirror where the mirror had been cut too long to fit tightly against the wall. After some effort to cut off the excess from the bottom of the mirror, glue was applied with a caulking gun. We wedged the mirror as best we could to allow the glue to adhere the plastic mirror to the wall. Yay, the head was spruced up and ready to go. Oh, wait, now we just need to add a bidet toilet seat or maybe a bum wash? ARRGH. Another project! We’ll add it to the list.
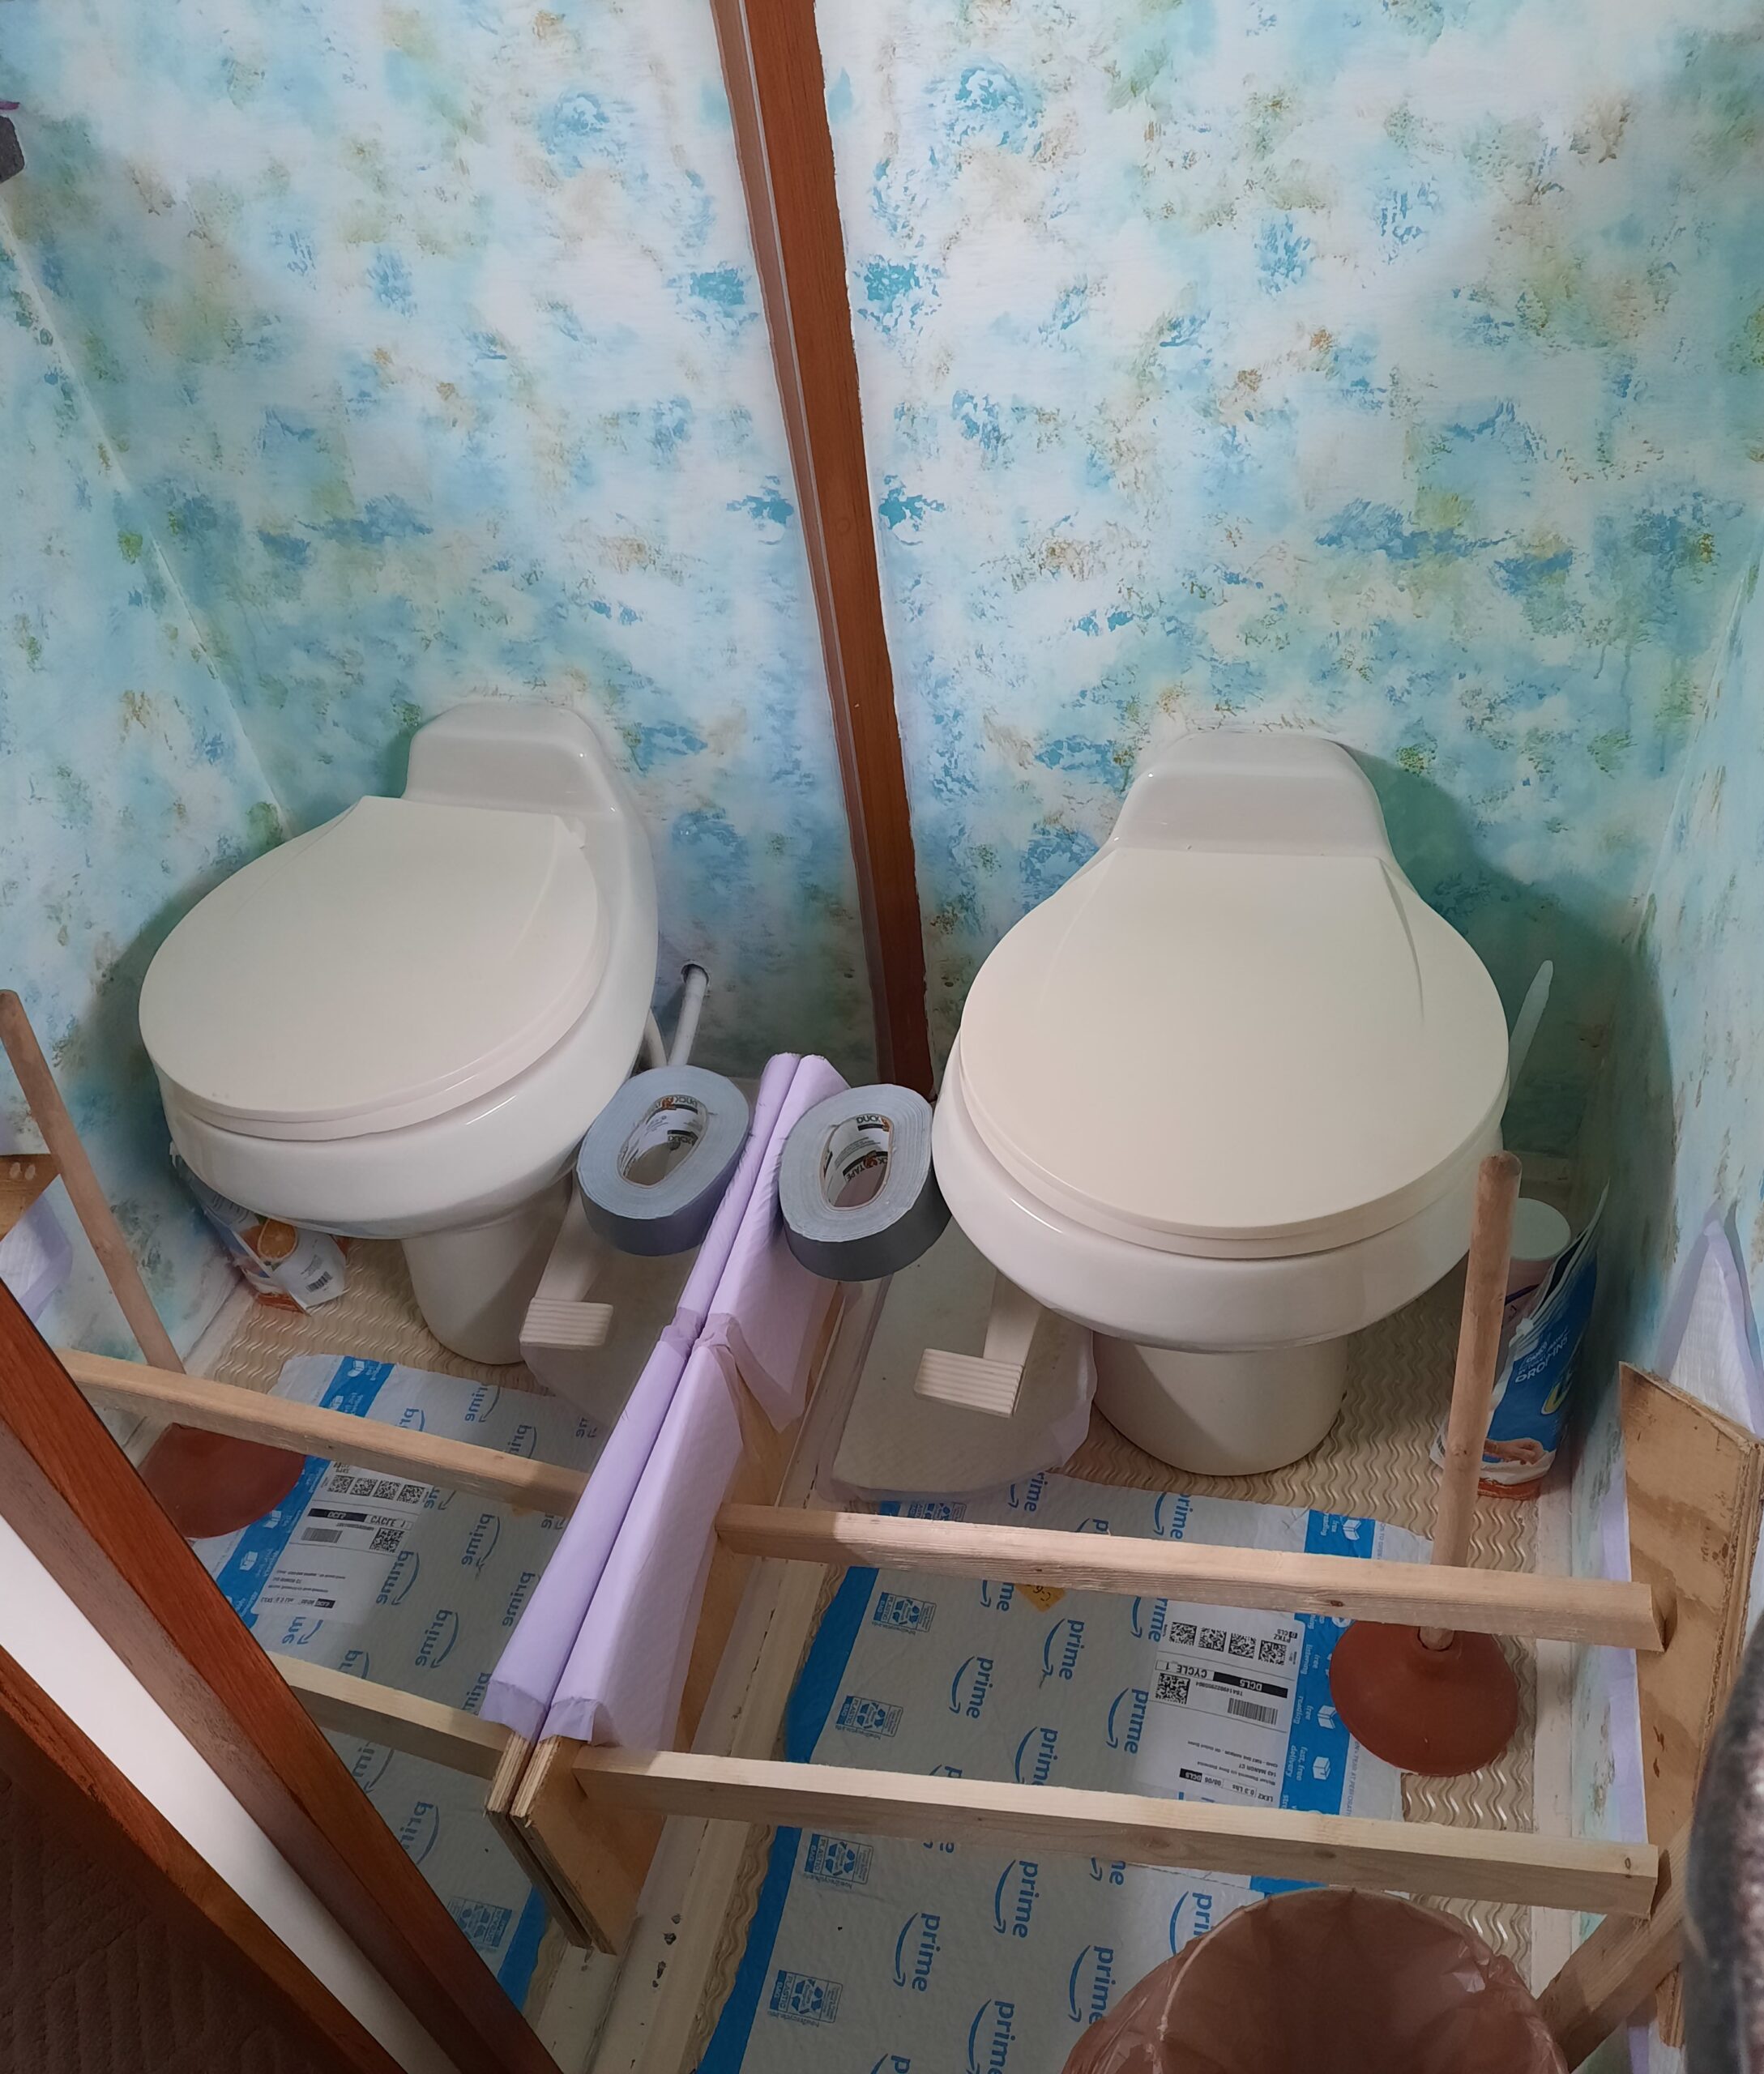
Reflection of toilet in mirror that needed to reglued.
Bracing for the mirror beside toilet. Mirror was cut down and reglued to wall.